


A Guide to Handheld Electric Saws
Handheld electric saws are indispensable tools for a wide range of DIY projects and professional tasks. Whether you’re cutting wood, metal, or other materials, there’s a saw designed to meet your specific needs. This comprehensive guide will explore the different types of handheld electric saws, their key features, and essential safety tips.
Types of Handheld Electric Saws
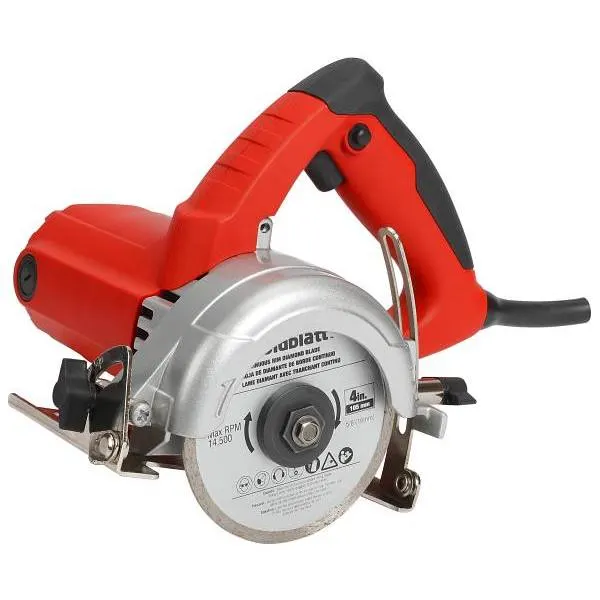
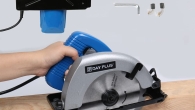
Circular Saws:
- Description: Circular saws feature a circular blade that rotates at high speeds, making them ideal for cutting straight lines and bevels in wood and other materials.
- Key features: Blade diameter, power output, depth adjustment, and bevel capacity.
- Applications: Cutting lumber, plywood, and other wood products; making miter cuts.
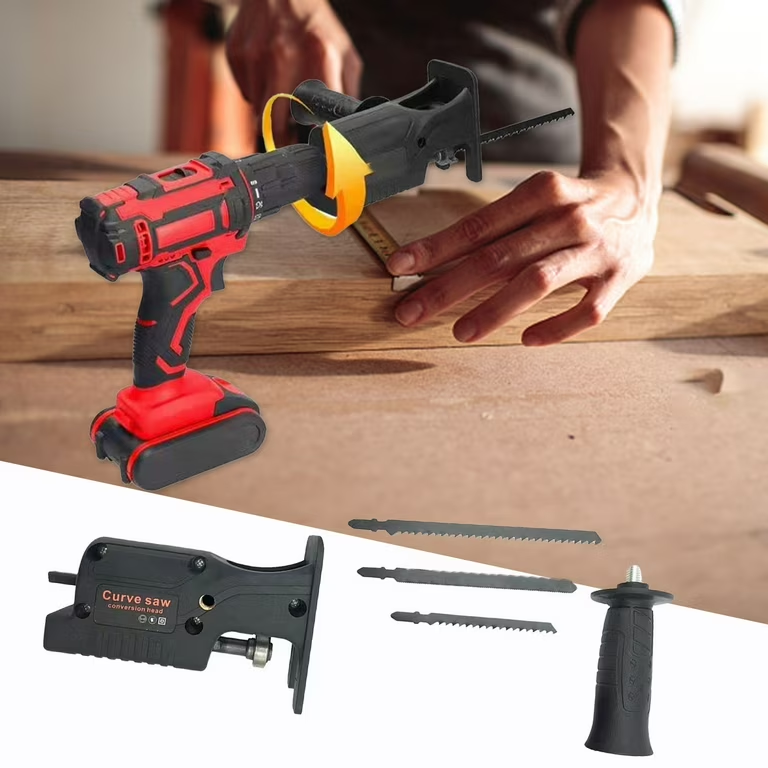
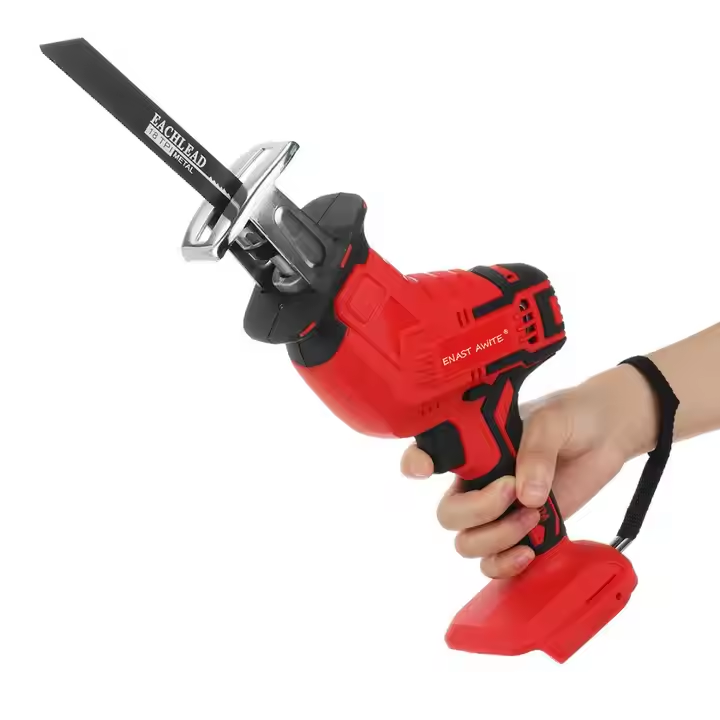
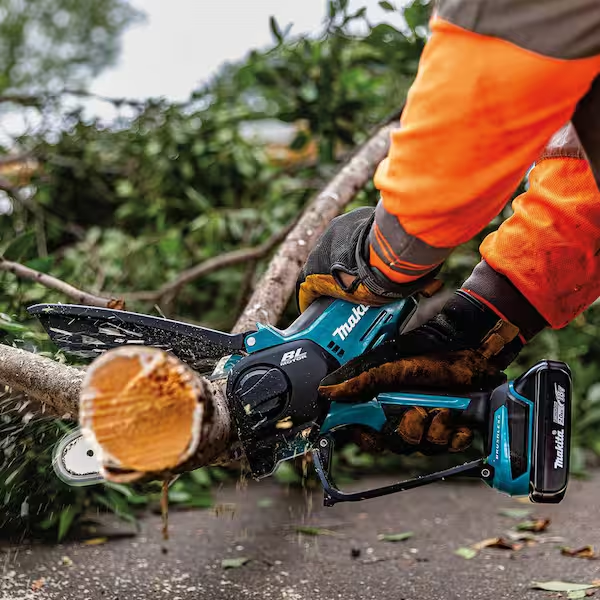
Reciprocating Saws:
- Description: Reciprocating saws have a reciprocating blade that moves back and forth, making them versatile for cutting in tight spaces and irregular shapes.
- Key features: Blade length, stroke length, and orbital action.
- Applications: Cutting through drywall, PVC pipes, metal, and wood; demolition work.
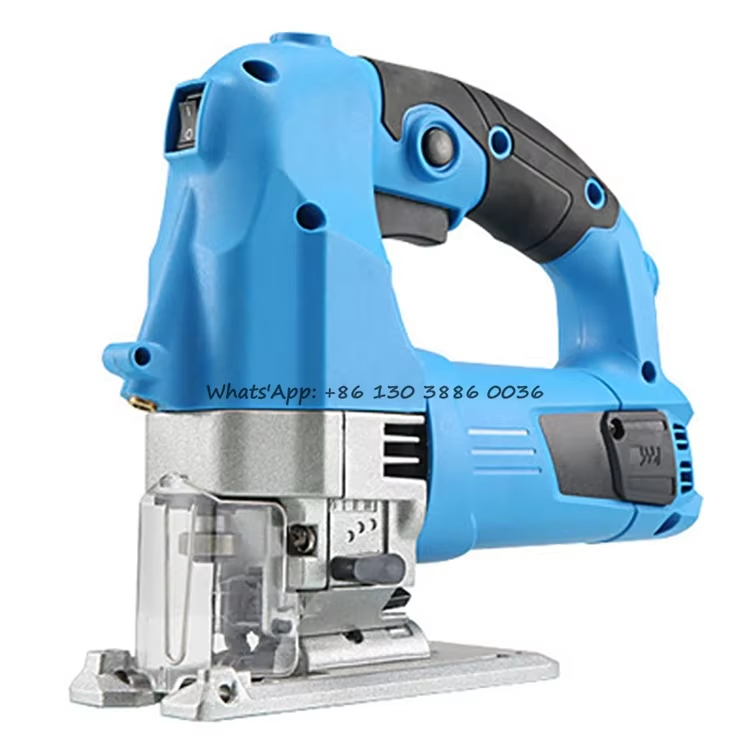
Jigsaw Puzzles:
- Description: Jigsaw puzzles have a narrow blade that moves up and down, allowing for intricate and curved cuts.
- Key features: Blade type (carbide-tipped, bi-metal, or high-carbon steel), variable speed control, and dust collection.
- Applications: Cutting curves and shapes in wood, metal, and plastic; creating decorative designs.
Saber Saws:
- Description: Saber saws are similar to reciprocating saws but have a longer blade and a more powerful motor, making them suitable for heavier-duty applications.
- Key features: Blade length, power output, and orbital action.
- Applications: Cutting through thick wood, metal, and concrete; demolition work.
Angle Grinders:
- Description: Angle grinders have a rotating abrasive wheel that can be used to cut, grind, and polish various materials.
- Key features: Wheel diameter, power output, and variable speed control.
- Applications: Cutting metal, stone, and concrete; grinding down edges; polishing surfaces.
Choosing the Right Saw
When selecting a handheld electric saw, consider the following factors:
- Intended use: What types of materials will you be cutting? What kind of cuts do you need to make?
- Power requirements: How much power do you need for your tasks?
- Features: What features are important to you, such as variable speed control, dust collection, or laser guidance?
- Budget: How much are you willing to spend on a saw?
Safety Tips
- Wear protective gear: Always wear safety glasses, hearing protection, gloves, and a dust mask when using a handheld electric saw.
- Inspect the tool: Before each use, check the saw for any damage or loose parts.
- Use the right blade: Ensure that you are using the appropriate blade for the material you are cutting.
- Maintain a firm grip: Hold the saw firmly with both hands to control it effectively.
- Cut away from yourself: Always cut away from your body to avoid accidents.
- Avoid forcing the saw: Let the saw do the work. Don’t apply excessive pressure.
- Disconnect the power: Unplug the saw before changing blades or performing any maintenance.
- Store the saw properly: Store the saw in a secure location, out of reach of children.
DIY projects
Here are some DIY projects that you can do with handheld electric saws:
Build a wooden bookshelf:
- Materials: Wood boards, screws, nails, wood glue, stain or paint.
- Steps:
- Cut the wood boards to the desired size using a circular saw.
- Assemble the bookshelf using screws, nails, and wood glue.
- Sand the edges and corners smooth.
- Stain or paint the bookshelf to your desired finish.
Create a custom cutting board:
- Materials: Wood boards, wood glue, mineral oil.
- Steps:
- Cut the wood boards to the desired size and shape using a jigsaw puzzle.
- Glue the boards together to form the cutting board.
- Sand the edges and corners smooth.
- Apply mineral oil to the cutting board to protect and condition the wood.
Make a wooden sign:
- Materials: Wood board, stencil, paint, brush.
- Steps:
- Cut the wood board to the desired size using a circular saw.
- Apply the stencil to the wood board.
- Paint the stencil design using a brush.
- Remove the stencil and let the paint dry.
Build a birdhouse:
- Materials: Wood boards, screws, nails, wood glue, paint.
- Steps:
- Cut the wood boards to the desired size using a circular saw.
- Assemble the birdhouse using screws, nails, and wood glue.
- Paint the birdhouse to your desired color.
- Hang the birdhouse in a tree.
Create a custom picture frame:
- Materials: Wood boards, miter saw, wood glue, nails, stain or paint.
- Steps:
- Cut the wood boards to the desired size using a miter saw.
- Assemble the picture frame using wood glue and nails.
- Sand the edges and corners smooth.
- Stain or paint the picture frame to your desired finish.
Build a garden planter:
- Materials: Wood boards, screws, nails, wood glue, stain or paint.
- Steps:
- Cut the wood boards to the desired size using a circular saw.
- Assemble the garden planter using screws, nails, and wood glue.
- Line the planter with a weed barrier and fill it with soil.
- Plant your favorite flowers or vegetables.
Make a wooden stool:
- Materials: Wood boards, screws, nails, wood glue, stain or paint.
- Steps:
- Cut the wood boards to the desired size using a circular saw.
- Assemble the stool using screws, nails, and wood glue.
- Sand the edges and corners smooth.
- Stain or paint the stool to your desired finish.
Create a custom cutting board:
- Materials: Wood boards, wood glue, mineral oil.
- Steps:
- Cut the wood boards to the desired size and shape using a jigsaw puzzle.
- Glue the boards together to form the cutting board.
- Sand the edges and corners smooth.
- Apply mineral oil to the cutting board to protect and condition the wood.
Maintenance and Care
- Clean the saw regularly: Remove any sawdust or debris from the saw after each use.
- Lubricate moving parts: Apply lubricant to moving parts as recommended by the manufacturer.
- Inspect the blade: Check the blade for wear and tear and replace it as needed.
- Store the blade properly: Store the blade in a safe place to prevent injuries.
Additional features
Handheld electric saws offer a variety of additional features that can enhance their versatility, performance, and user comfort. Here are some of the most common features to consider:
Cordless vs. Corded:
- Cordless: Offers greater mobility and convenience for working in remote areas or without a nearby power source. However, they may have limited battery life and require frequent charging.
- Corded: Provides continuous power and is often more powerful than cordless models. However, the cord can be cumbersome and may restrict your movement.
Variable Speed Control:
- Allows you to adjust the saw’s speed to match the material and task at hand. This can improve cutting accuracy and prevent the blade from burning or stalling.
Laser Guide or LED Light:
- Provides a visible line or light to guide your cuts, ensuring straight and accurate lines.
Dust Extraction:
- Helps to keep your workspace clean and reduce the amount of dust you inhale. Some saws have built-in dust ports that can be connected to a vacuum cleaner.
Bevel Adjustment:
- Allows you to make angled cuts, which is useful for a variety of applications, such as creating miter joints or trimming boards at an angle.
Blade Guard:
- Protects the blade and user from accidental contact. Some blade guards can be locked in place for safer operation.
Keyless Blade Change:
- Makes it quick and easy to switch between different blades for various materials and tasks.
Handheld electric saws are versatile tools that can make your DIY projects and professional tasks much easier. By understanding the different types of saws, their key features, and essential safety tips, you can choose the right saw for your needs and use it safely and effectively.


Leave a Reply