


How to Remove Lawnmower Battery: A Step-by-Step Guide
Preparing for Battery Removal
Before you start to remove your lawnmower battery, proper preparation is crucial. Good preparation ensures a safe and efficient battery removal process. Here’s what you need to take care of before you dive in.
Understanding Your Lawnmower’s Battery Type
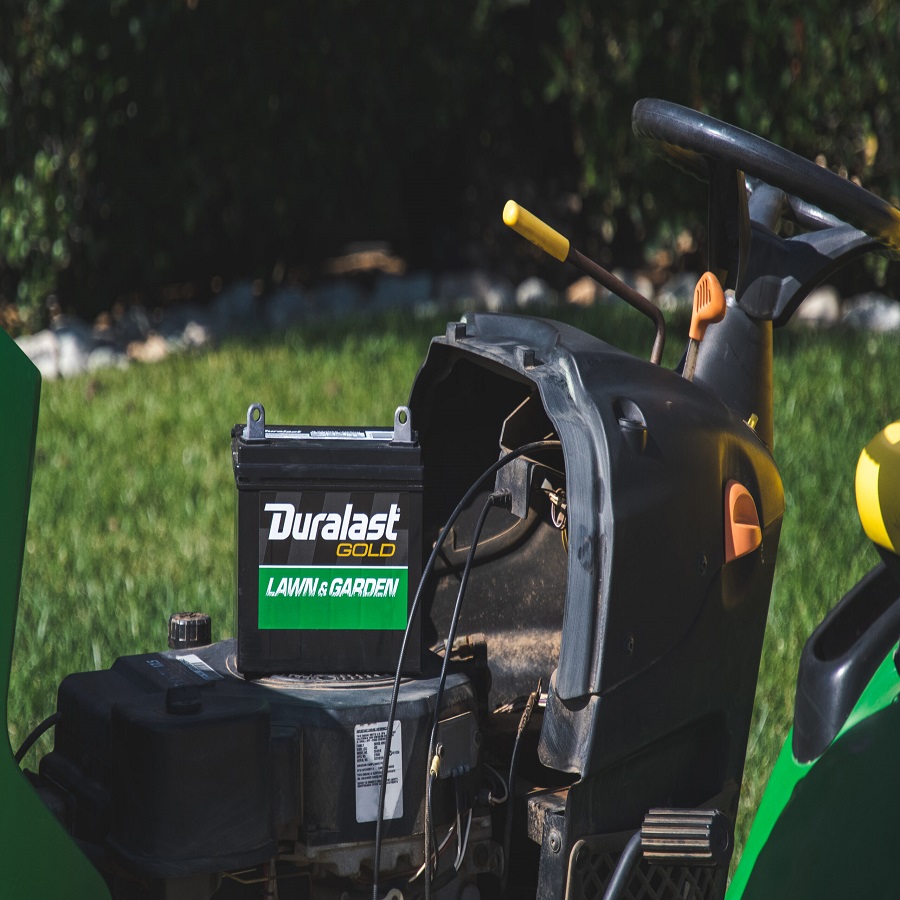
Lawnmowers can come with different battery types, such as lead-acid, lithium-ion, or nickel-cadmium. Identify your lawnmower’s battery to understand specific safety protocols. For instance, lead-acid batteries contain dangerous acids and gases, while lithium-ion batteries are sensitive to high temperatures. Knowing the type helps in handling the battery safely during removal.
Gather Necessary Tools and Safety Equipment
Safety first. Gather gloves to protect your hands and goggles to shield your eyes from potential sparks or debris. You will also need wrenches or pliers to loosen the battery cables. Ensure you have a sturdy tray or surface to place the battery after removal. Keep a clean cloth at hand for any cleaning that may be necessary. Remember to do ‘how to remove lawnmower battery’ tasks away from open flames or sparks to prevent accidents.
 Locating the Lawnmower Battery
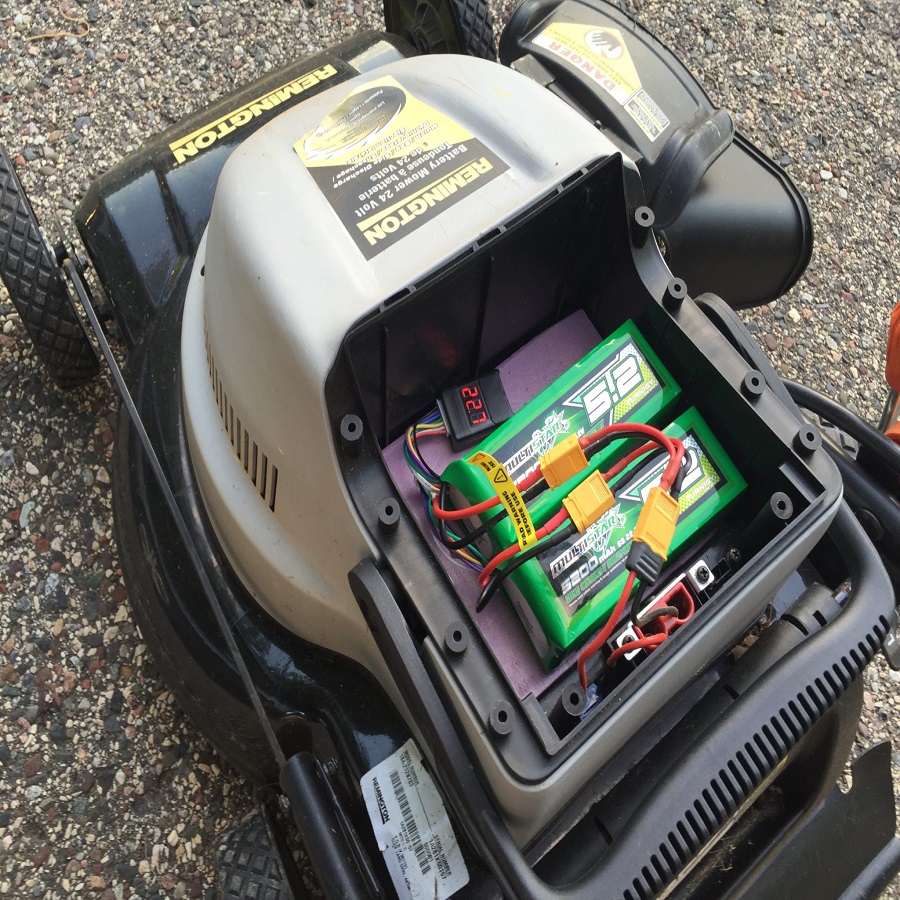
Before you can learn how to remove lawnmower battery, you need to find it. Lawnmowers are all different, but most batteries are under the seat or behind the engine. Look for a plastic cover or a metal panel. This is usually the battery compartment. Sometimes, they’re in plain sight, other times hidden. If you struggle to find it, check the owner’s manual. It will guide you to the battery’s location.
Finding the Battery Compartment
Once you spot the battery compartment, you’ll need to access it. For most riding mowers, lift the seat up. For others, remove the plastic cover or unscrew the metal panel. Use your tools for this. Make sure you’re working in a well-lit area. Good visibility is important for safety.
Identifying Battery Connections and Terminals
Now, you’ll see two cables connected to the battery terminals. One is positive, usually red, the other one is negative, often black. The positive terminal might have a ‘+’ sign near it. The negative could have a ‘-‘ symbol. It’s vital to identify these correctly before you proceed. Knowing which is which is key to prevent accidents when it’s time to remove the lawnmower battery.
Disconnecting the Battery
Before you commence the actual removal, ensure the lawnmower is off and the key is out. This eliminates any chance of electrical activity. Position yourself comfortably and keep your tools within easy reach. Disconnecting the battery should be done with care to prevent damage or injury.
Detaching Negative and Positive Cables
Begin with the negative cable, which is often black and marked with a ‘-‘. Use a wrench or pliers to loosen the terminal nut. Gently wiggle the cable until it comes free. Don’t use excessive force. Set it aside, ensuring it can’t touch the positive terminal. Then, move to the positive cable, the red one with a ‘+’ sign. Detach it using the same method. Handle cables gently to prevent them from snapping or corroding.
Precautions to Avoid Short Circuits
When removing the cables, be certain they don’t touch each other or any metal parts of the mower. This avoids short circuits. If the terminals have any corrosion, don’t let it contact your skin or clothes. Corrosion can cause skin irritation and ruin fabric. If the battery has a hold-down clamp, loosen it before attempting to remove the battery. This prevents the battery from accidentally shifting and causing a short circuit.
Removing the Battery
Now that you’ve safely disconnected the cables, it’s time to actually remove the lawnmower battery. This step requires caution and the right technique to ensure you lift the battery out without any issues.
Techniques for Lifting the Battery Out
Grip the battery firmly on opposite corners. Avoid tilting it, as this might spill any acid inside. Lift the battery straight up and out of its compartment. Most lawnmower batteries have a handle—use this if available. Lift with your legs, not your back, to avoid strain or injury.
If the battery is wedged in tightly, gently rock it back and forth to loosen. Do not force it out. Take your time and be patient. Once free, place the battery on your sturdy tray or surface.
Handling Corrosion and Leakage
Inspect the battery for signs of corrosion or leakage before and after removal. If you see white powdery deposits, this is corrosion. If there’s leakage, you’ll notice liquid around the terminals or on the battery itself.
Wearing gloves and goggles is essential when handling a leaking or corroded battery. If you find corrosion, clean the terminals and the area around it with a solution of baking soda and water to neutralize the acid. Use a brush to apply this mixture cautiously.
Contain any spills using sand or an absorbent material. Dispose of the material according to local hazardous waste regulations. After removal, ensure the lawnmower battery is stored upright to prevent further leakage.

Maintenance Tips Post Removal
After you remove your lawnmower battery, proper maintenance is key. This ensures a longer lifespan and better performance.
Cleaning Battery Terminals
Once the battery is out, inspect the terminals. Look for any corrosion or residue. If present, proceed with cleaning. For cleaning:
- Mix baking soda with water to create a paste.
- Use an old toothbrush or small wire brush.
- Apply paste to the terminals.
- Scrub gently to remove buildup.
- Rinse with water and dry thoroughly.
Remember to wear gloves and goggles during this process. Dispose of cleaning materials properly.
Storing the Lawnmower Battery
To store your lawnmower battery:
- Choose a cool, dry place.
- Avoid direct sunlight and extreme temperatures.
- Keep the battery on a clean, dry surface.
- Prevent contact with metal objects.
Proper storage prevents discharge and damage. This way, your battery stays in good shape for the next use.
Installing a New Lawnmower Battery
After you remove the old battery, it’s time to install a new one. This step is just as crucial to ensure your lawnmower operates smoothly.
Choosing the Right Replacement Battery
Selecting the right battery is key. Make sure it matches your mower’s specifications. Look for the same voltage and the correct size to ensure it fits. Also, choose a battery with the same or higher amp-hour (Ah) rating for longer usage.
Check for a battery with maintenance-free design if you prefer less upkeep. Consider a reputable brand for reliability and warranty cover. Buying the correct battery avoids future performance issues.
Connecting the New Battery
Now, you are ready to connect the new battery. Always connect the positive cable first, which is red or has a ‘+’ sign. Tighten the terminal securely. Then, attach the negative cable, marked with a ‘-‘ or black.
Ensure the connections are tight to avoid power loss. Double-check that cables are not crossed and that the battery is secure. Once connected, close the compartment and test start your lawnmower.
Following these steps will help you install your lawnmower battery safely and efficiently. Remember to follow the manufacturer’s guidelines for any specific instructions.
Troubleshooting Common Issues
Once you remove your lawnmower battery, you might face some issues that need troubleshooting. Here are common problems and how to fix them.
Dealing with Stubborn Battery Terminals
Sometimes, battery terminals won’t budge. Follow these tips for stubborn terminals:
- Spray penetrating oil around the terminal. Give it a few minutes to work.
- Use a terminal puller if you have one. It helps to avoid damage.
- Wiggle the cable back and forth gently. Do not pull straight up.
- If corrosion is the issue, apply a baking soda and water mixture first.
Take care not to force the terminals. This can break them and cause more problems.
What to Do If Your Battery Won?t Charge
If your lawnmower battery won’t charge, try these steps:
- Check the charger. Sometimes the issue is not the battery but the charger.
- Clean the terminals. Dirt or corrosion can block the charge.
- Ensure the battery is at the right temperature. Extreme cold or heat affects charging.
- Examine the battery age. Old batteries may not hold a charge well.
If you’ve tried these steps and still have issues, the battery may need replacing. Remember, correct maintenance and storage extend your lawnmower battery’s life. Always refer to the owner’s manual or seek professional advice if you’re unsure.
Environmental Considerations and Disposal
When you remove a lawnmower battery, think about the environment. Safe disposal matters as much as the removal process. Batteries have chemicals that harm nature if not handled correctly.
Disposing of Old Lawnmower Batteries
Take your old battery to a recycling center or a store that accepts them. Many places collect old batteries at no cost. Never throw batteries in the trash. They can leak harmful substances and contaminate the soil and water.
- Find a local battery recycling program.
- Drop the battery off at an authorized facility.
- Keep the environment safe by following local disposal laws.
Following these steps helps to prevent pollution. Always handle old batteries with care.
Recycling and Environmental Impact
Recycling helps reduce waste and saves resources. Recycled batteries can become new batteries or other products. This decreases the need to mine new materials. It cuts down on pollution and energy use as well.
- Support recycling programs in your community.
- Learn how recycled batteries make a difference.
- Spread awareness about battery recycling benefits.
Your actions contribute to a healthier planet. Recycle your lawnmower battery and encourage others to do so.


Leave a Reply