


Mastering the Circular Saw: A Guide to Cutting Straight Lines
The circular saw is a versatile power tool that empowers DIYers and woodworking enthusiasts to tackle various projects. However, achieving perfectly straight cuts with a circular saw can be a challenge, especially for beginners. This comprehensive guide will equip you with the knowledge and techniques to make clean, precise cuts with your circular saw, transforming your projects from good to great.
Understanding the Challenge
Circular saws are designed for freehand cutting, allowing for flexibility in shaping and maneuvering. However, the lack of a fixed cutting path makes achieving straight cuts more intricate compared to using a table saw. Here’s what contributes to the challenge:
- Blade Kerf: The width of material removed by the blade, also known as the kerf, needs to be factored in when following a cut line. Deviating slightly from the line during the cut can result in a misaligned final cut.
- Base Plate Flex: The base plate of a circular saw can flex slightly, especially on thin materials. This flexing can cause the blade to wander off the intended path.
- User Control: Maintaining a steady grip and consistent pressure throughout the cut is crucial for accuracy.
The Art of Freehand Cutting
While using a guide is generally recommended for precise cuts, there are situations where freehand cutting becomes necessary. Here are some key techniques to achieve straight cuts freehand:
Preparation is Paramount:
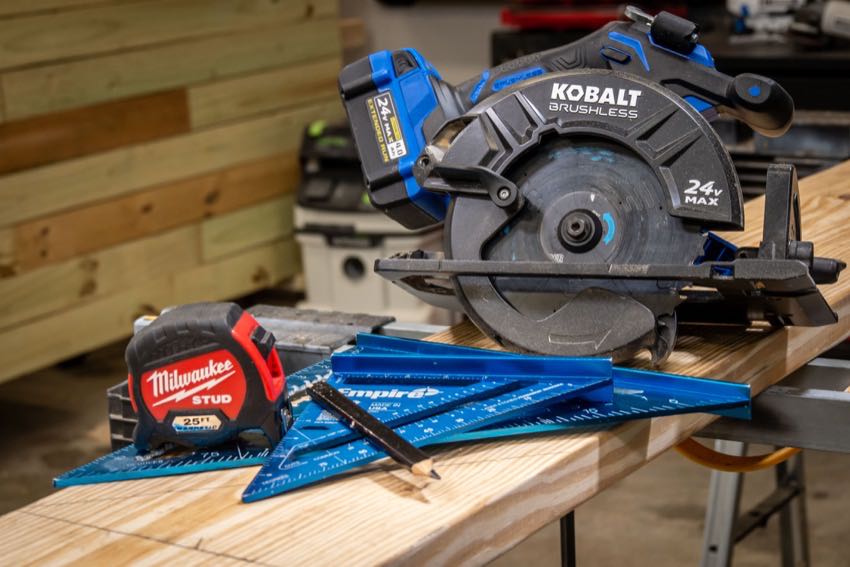
- Sharp Blade: Ensure your circular saw blade is sharp for a clean cut and better control. A dull blade can bind and cause the saw to veer off track.
- Mark Precisely: Use a straightedge and sharp pencil to mark a clear and well-defined cut line. Double-check your measurements for accuracy.
Setting Up for Success:
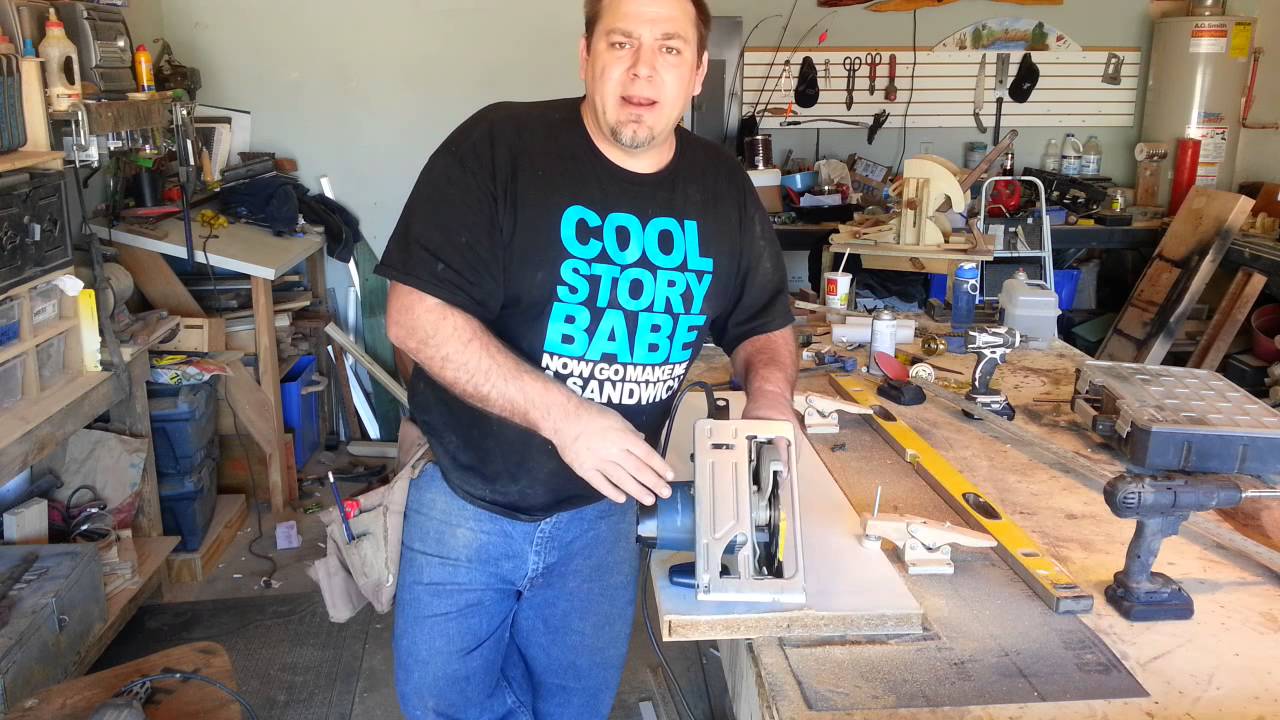
- Body Position: Stand with your feet shoulder-width apart for stability. Keep your core engaged and maintain a comfortable posture throughout the cut.
- Grip Matters: Hold the saw firmly with both hands, one on the rear handle and the other on the front handle. A firm but relaxed grip allows for better control.
- Align the Blade: Position the saw so the blade kerf is centered slightly off-cut (waste side) of your marked line. This accounts for the blade width.
- Power Up Safely: With the saw off and the blade clear of the material, plug it in. Keep your finger off the trigger until you’re ready to begin the cut.
Executing the Cut:
- Start Slow: Power on the saw and let the blade reach full speed before initiating the cut. A slow and controlled start minimizes the risk of the saw kicking back.
- Align and Ease In: Align the saw base plate flush with the material and the edge of the base plate against the cut line. Gently lower the blade onto the material just before starting the cut.
- Maintain Focus and Pressure: Focus on keeping the saw aligned with the cut line throughout the process. Apply consistent, moderate pressure to feed the saw forward at a steady pace.
- Follow Through: Maintain a straight line and consistent pressure until the cut is complete. Lift the saw straight up only after the blade has cleared the material.
Utilizing Guides for Enhanced Accuracy
For increased precision and repetitive cuts, employing a guide is highly recommended. Here are some popular options:
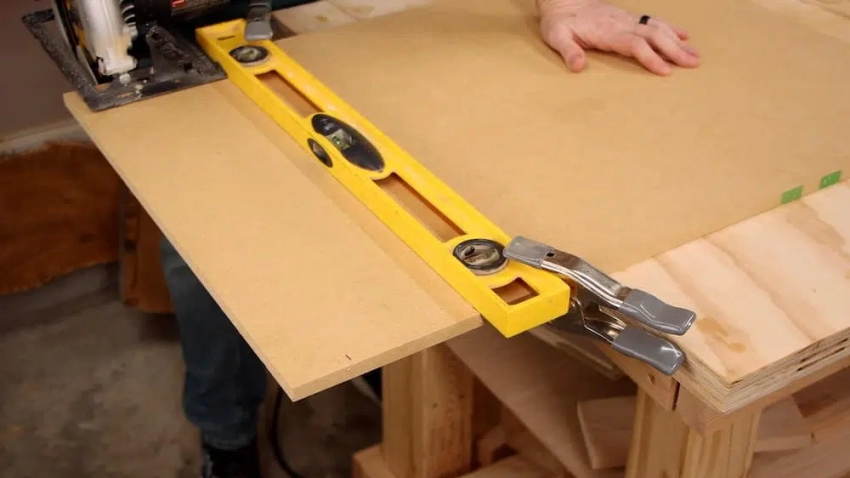
- Clamped Straight Edge:
- Simple and Readily Available: This method involves clamping a straight board along the cut line as a guide for the saw base plate to ride against.
- Considerations: Ensure the clamped board is straight and wide enough to accommodate the saw base and avoid contacting the motor housing. Account for the blade kerf by positioning the board slightly off-cut.
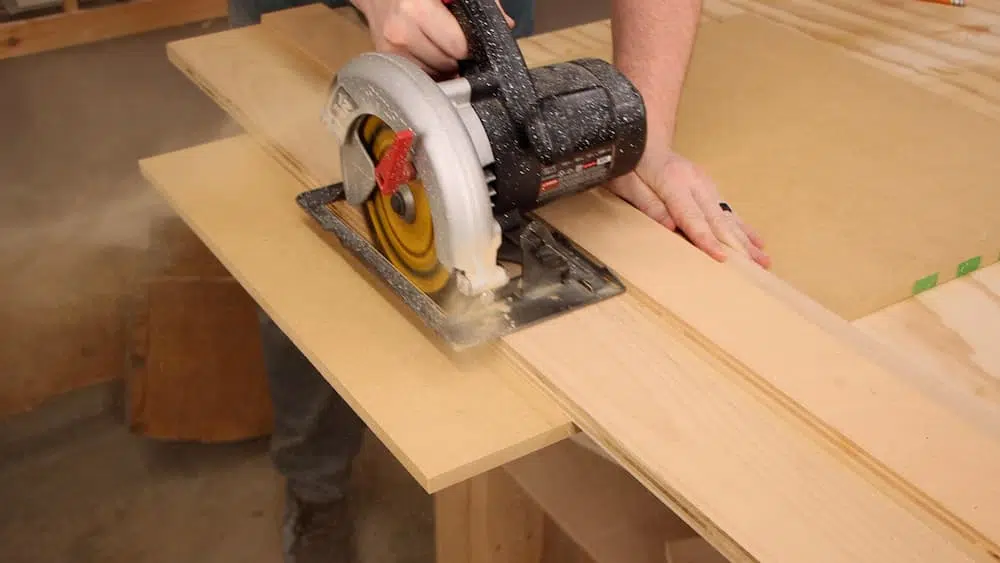
- Homemade Track:
- Enhanced Stability: Take the clamped straight edge a step further by attaching a second board perpendicular to the first, creating an L-shaped track. This additional board provides better stability and helps square up the saw to the material.
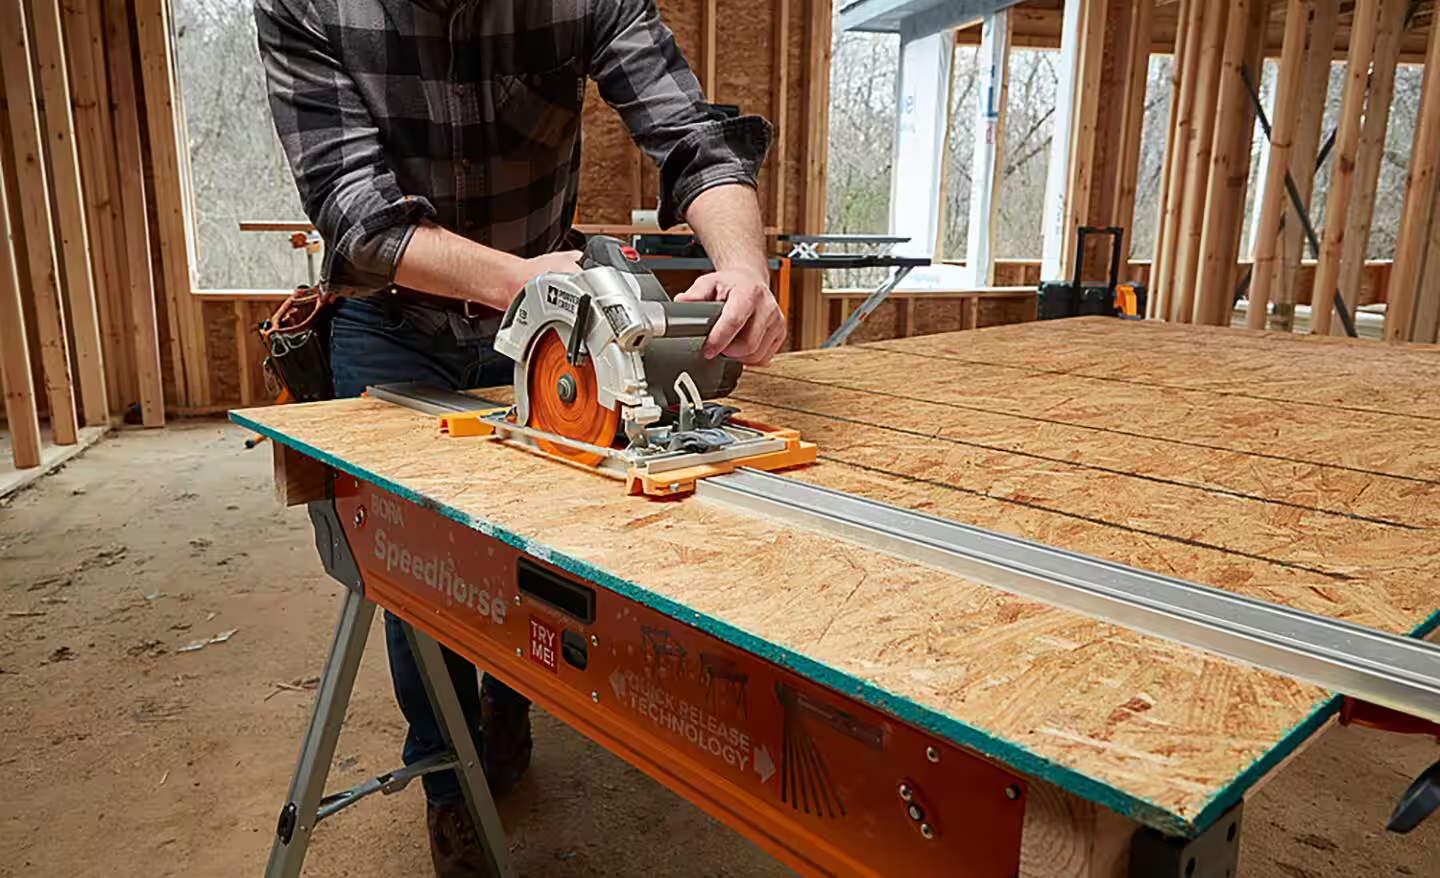
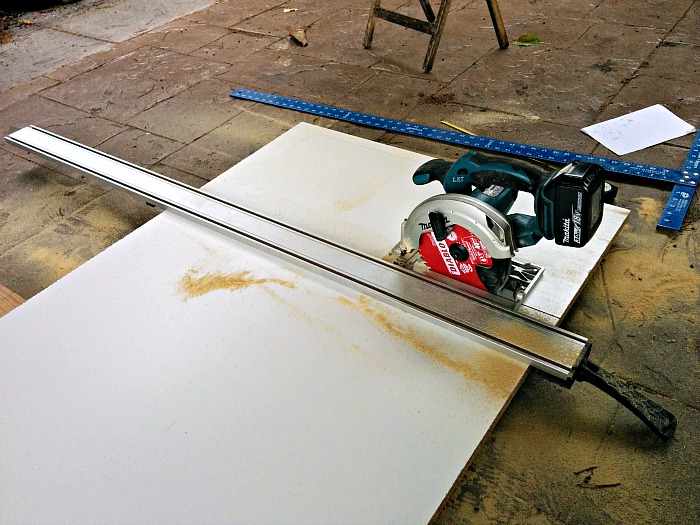
- Circular Saw Track System:
- Professional Precision: For frequent straight cuts, consider investing in a circular saw track system. These systems consist of a metal track that secures to the material and a carriage that holds the saw, ensuring a perfectly straight cut path.
- Edge Guides and Jigs:
- Specialized Applications: For specific cutting tasks such as ripping plywood sheets or cutting parallel strips, edge guides and jigs can be valuable additions. These guides attach to the saw base and provide a reference point for straight and consistent cuts.
Essential Tips for Success
- Practice Makes Perfect: Before embarking on your project, practice making straight cuts on scrap material to hone your technique and get comfortable with the saw.
- Cutting on a Stable Surface: Always use a sturdy, flat work surface to minimize flexing and ensure accurate cuts. Clamping the material to the work surface further enhances stability.
- Mark Both Sides: If you’re cutting through thick material, mark the cut line on both sides for better visibility and to ensure the cut aligns perfectly.
- Score the Line (Optional): For delicate cuts or materials prone to chipping, use a utility knife to lightly score a line along the cut path. This helps guide the blade and reduces chipping.
- Cut with the Good Side Down: When cutting plywood or veneered materials, place the good side facing down on your work surface. This minimizes the risk of damaging the finished surface with the saw base or blade.
- Minimize Binding: Avoid forcing the saw through the cut. If you feel the blade binding, ease off the pressure and let the saw work at its own pace. A dull blade or excessive material thickness can cause binding.
- Eye on the Blade: Keep your focus on the blade tip and the cut line throughout the process. This helps maintain alignment and prevents the saw from wandering off course.
- Safety First: Always wear safety glasses, ear protection, and appropriate clothing when operating a circular saw.
Mastering straight cuts with a circular saw takes practice and an understanding of the tool’s limitations. By following these techniques, utilizing guides when appropriate, and prioritizing safety, you’ll be well on your way to achieving professional-looking results in your woodworking projects. Remember, patience, precision, and a bit of practice are the keys to unlocking the full potential of your circular saw and transforming it into a reliable tool for creating clean, straight cuts.
This article aimed to provide a comprehensive guide on achieving straight cuts with a circular saw. With the knowledge and techniques presented, you can elevate your woodworking skills and tackle projects with confidence. Now, go forth and create!


Leave a Reply