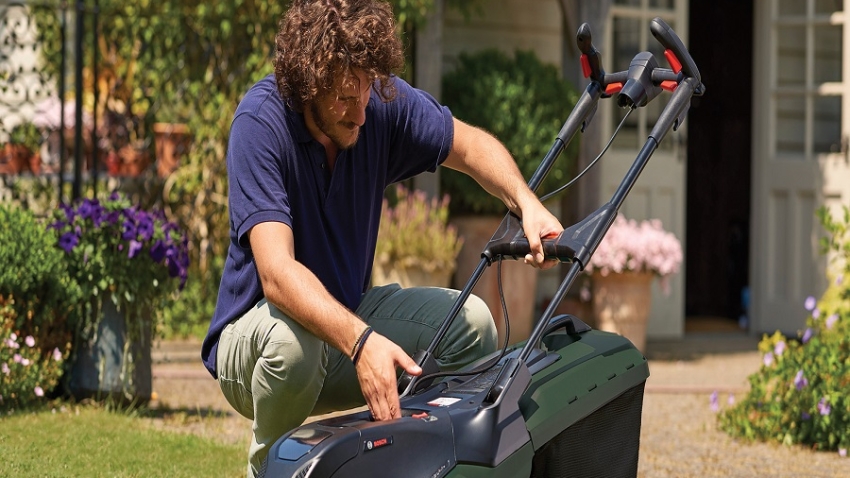
How to Fix A Lawnmower That Won’t Start: Beat the Frustration
Common Reasons Why Lawnmowers Fail to Start
When your lawnmower won’t kick into action, the frustration can be high. Understanding the common issues can streamline your troubleshooting efforts. Here are frequent reasons why a lawnmower may not start:
- Fuel problems: An empty gas tank or stale fuel can prevent starting. Lawnmowers need fresh gasoline to operate efficiently.
- Dirty air filter: A clogged air filter restricts airflow, choking the engine.
- Faulty spark plug: A dirty or damaged spark plug can fail to ignite the fuel-air mixture within the engine.
- Battery issues: For electric starters, a dead or weak battery won’t turn the engine over.
- Oil level: Incorrect oil levels – too high or too low – can cause starting difficulties.
- Carburetor blockage: A dirty or obstructed carburetor can hinder fuel from reaching the engine.
Behavior from the lawnmower can offer clues about the malfunction. For instance, if it’s emitting odd sounds or silence when turned on, electrical or mechanical issues may be at play. If the engine turns over but doesn’t start, the problem could relate to fuel, spark, or air delivery. Memorizing these common culprits for why lawnmowers fail to start can be a great starting point before diving into a more detailed diagnosis following our step-by-step guide which we will discuss next.
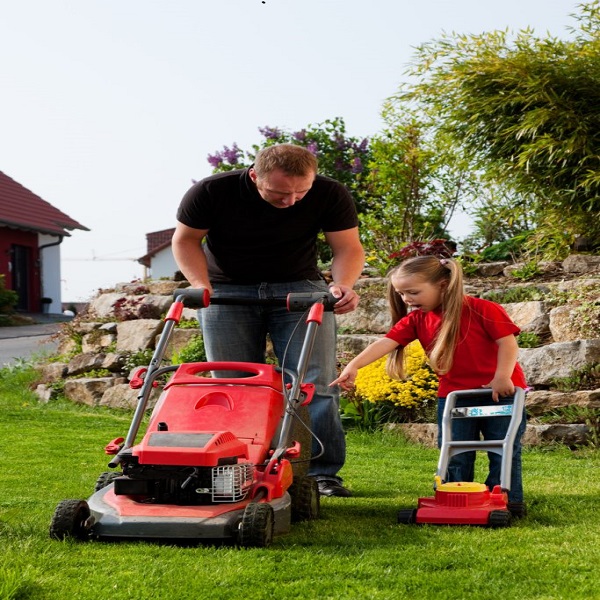 Step-by-Step Diagnostic Process
If your lawnmower doesn’t start, a systematic approach can help. Follow these steps to identify and fix the issue:
- Check the fuel: Ensure there’s fresh gasoline in the tank. Replace old or stale fuel.
- Inspect the air filter: Look for blockages. Clean or change the filter if dirty.
- Examine the spark plug: Remove and check for deposits or damage. Replace if necessary.
- Assess the battery: For electric starters, test the battery’s charge and connections.
- Look at oil levels: Verify that oil levels are within the recommended range.
- Inspect the carburetor: Clean any debris that might block fuel flow.
If the problem persists after these checks, delve deeper into specific components. Inspecting the ignition system, maintaining proper airflow, and ensuring the spark plug functions can uncover hidden issues. Electrical connections should also be secure and intact. If the troubleshooting feels overwhelming, or if issues remain unresolved, consider seeking professional help.
Checking the Fuel System for Problems
When a lawnmower fails to roar to life, often the fuel system is to blame. Here are steps to ensure your mower’s fuel system isn’t the issue:
- Examine the Gas Tank: Make sure the tank contains enough fresh gas. If empty, refill it. If you suspect the gas is stale, drain the tank and add new fuel.
- Fuel Filter Check: Locate and inspect the fuel filter for clogs or damage. A blocked filter needs cleaning or replacement.
- Fuel Lines Inspection: Trace the fuel lines for any signs of wear or leaks. Replace cracked or damaged lines.
- Clean the Carburetor: A dirty carburetor can obstruct fuel flow. Disassemble it with care, clean thoroughly, and put it back together. If unsure, seek help from tutorials or a professional.
- Fuel Cap Venting: Ensure the fuel cap vent is clear. Blocked vents create a vacuum, stopping fuel from flowing.
Each of these components plays a vital role in the starting process. Attend to them with precision to solve any issues related to how to fix a lawnmower that won’t start. Remember, fresh gasoline is critical for smooth mower operations. Stale fuel is a common culprit and replacing it could solve your starting woes.
Inspecting the Ignition System
When troubleshooting a lawnmower that won’t start, the ignition system is a key area to check. Here’s how to inspect it effectively:
- Examine the Ignition Coil: Look for visible damage or loose connections. A faulty coil can prevent spark creation.
- Test the Ignition Switch: Make sure it’s turning correctly. A malfunctioning switch may not initiate the starting sequence.
- Check the Flywheel Key: Inspect the key for signs of shearing. A damaged key disrupts the engine timing.
- Inspect Wiring: Check all wires connected to the ignition system. Replace any that are frayed or disconnected.
Addressing each of these components will aid in identifying how to fix a lawnmower that won’t start due to ignition system failures. Be meticulous in your inspection for a successful fix.
 Airflow and Filter Maintenance
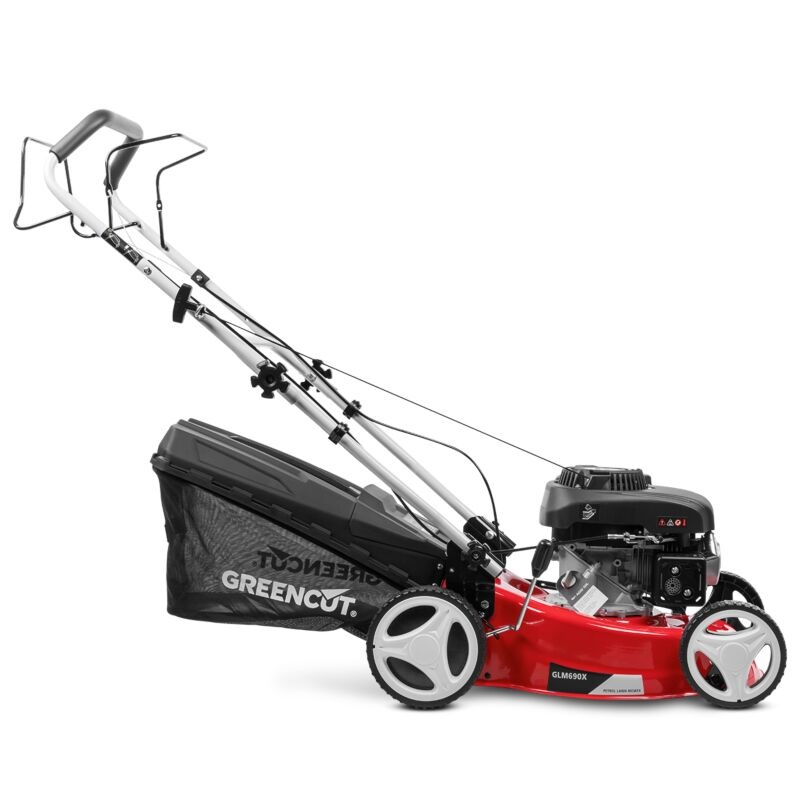
A clean air filter is vital for a lawnmower’s proper function. When a filter is clogged, air can’t reach the engine, leading to startup troubles. Here’s a straightforward guide to help you maintain the airflow and filter on your lawnmower:
- Locate the Air Filter: Find your mower’s air filter housing. It’s usually on the side of the engine.
- Remove the Filter: Carefully take out the air filter. Some models may have clips or screws.
- Assess the Dirt Level: Check how dirty the filter is. A little dust is normal, but a buildup means it’s time for action.
- Clean or Replace: If the filter is lightly soiled, tap it to remove debris. If it’s very dirty or damaged, install a new one. Always follow the manufacturer’s recommendations for your model.
- Reinstall the Filter: Once clean or new, put the filter back. Ensure it fits snugly in its housing.
- Check for Leaks: After reinstallation, look for gaps or leaks in the air filter housing. Air should only flow through the filter.
- Regular Checks: Make air filter checks part of your routine maintenance. Replace the filter at least once a mowing season or as advised by your lawnmower’s manual.
By maintaining the airflow and keeping the air filter clean, you take important steps in troubleshooting how to fix a lawnmower that won’t start. A clean filter ensures the engine gets the air it needs to operate efficiently. This can be a simple fix to common starting problems.
Spark Plug Troubleshooting
A defective spark plug often causes startup failure in lawnmowers. Check the spark plug if you experience starting issues. Here’s how to troubleshoot this common problem:
- Remove the Spark Plug: Carefully disconnect the spark plug wire. Use a spark plug socket to remove the plug.
- Inspect: Look for signs of wear, deposits, or damage. A healthy plug should have a light tan color.
- Clean: If the plug is dirty, use a wire brush to gently clean it. Be careful not to damage the electrodes.
- Check the Gap: Ensure the gap between the electrodes matches the manufacturer’s specifications.
- Test for Spark: Reattach the wire, hold the plug’s metal body to the engine block, and pull the start cord. A good spark plug should show a bluish spark.
- Replace if Necessary: If the spark plug is cracked, or the electrode is worn, you need a new one.
- Reinstall or Replace: Either put the cleaned plug back or screw in a new one. Reconnect the wire snugly.
Remember, handling the spark plug with care is essential. It’s a delicate part of your lawnmower’s engine. Proper spark plug maintenance is a step toward solving how to fix a lawnmower that won’t start. Include checks in your regular maintenance schedule for best performance.
Battery and Electrical Connection Checks
When dealing with a lawnmower that won’t start, it’s important not to overlook the battery and electrical connections, especially if your mower relies on an electric start system. Here is a straightforward checklist to help you troubleshoot potential issues:
- Battery Voltage Test: Use a multimeter to check the battery’s voltage. It should meet the manufacturer’s recommended voltage.
- Clean Battery Terminals: Corrosion can prevent a good connection. Clean the terminals with a wire brush.
- Tighten Connections: Loose wires can disrupt power. Confirm all connections are secure and tight.
- Check the Safety Switch: Mowers have safety switches that prevent them from starting if engaged. Ensure these are not causing the issue.
- Inspect the Starter Solenoid: This small device directs current to the starter. Listen for a click when you turn the key; no sound may indicate a problem.
- Review the Wiring Harness: Search for any signs of damage, like cuts or frays in the wiring. Damaged wires need replacing.
- Fuse Check: Locate and examine the fuse. A blown fuse is a common, but easily fixed, problem.
By methodically examining each of these areas, you can identify why your lawnmower might not start and determine how to fix it. Often, issues with batteries or electrical connections are relatively simple to rectify. However, if these checks don’t resolve the issue, it could point to a deeper problem that may require professional help.
It’s important to handle electrical components carefully and to always follow your lawnmower manufacturer’s guidelines. Regular maintenance and checks of your mower’s electrical system can prevent many start-up issues. And remember, if you’re ever unsure or uncomfortable with performing these checks, seek the assistance of a professional.
Professional Repair vs. DIY: When to Call an Expert
Deciding between a professional repair and a DIY fix can be tricky. Here’s when to consider calling an expert:
- Complex Electrical Issues: If you’ve checked the electrical system but can’t find the fault, a pro can help. They have the right tools and knowledge.
- Engine Overhauls: If the engine needs a major overhaul, experts should handle it. This job is detailed and risky to do without experience.
- Warranty Concerns: DIY repairs may void your mower’s warranty. Check with the manufacturer before you start.
- Persistent Problems: If the mower still won’t start after you’ve tried everything, it might be time for expert eyes.
- Lack of Tools: Certain repairs need special tools. If you don’t have them, an expert should do the job.
- Safety Risks: If you’re not sure about a repair, don’t risk injury. Call someone who knows how to fix a lawnmower that won’t start safely.
In summary, take on repairs you can manage. For tough or risky issues, trust a skilled technician. They can fix your mower and save you from further damage or injury.


Leave a Reply