


Mastering the Miter Saw: A Woodworker’s Guide
The miter saw, a staple in any woodshop, is a powerful tool that allows for precise and efficient cuts. While seemingly simple on the surface, understanding the different functionalities and applications of a miter saw will unlock its full potential and elevate your woodworking projects. This comprehensive guide will equip you with the knowledge and confidence to tackle various cutting tasks using your miter saw.

Demystifying the Miter Saw
Types of Miter Saws:
There are two primary categories of miter saws: compound miter saws and sliding compound miter saws.
-
Compound Miter Saws: This is the most common type for home hobbyists and DIYers. It allows for angled (miter) cuts on the horizontal plane, and bevel cuts on the vertical plane. However, the wood piece itself remains stationary during the cutting process.
-
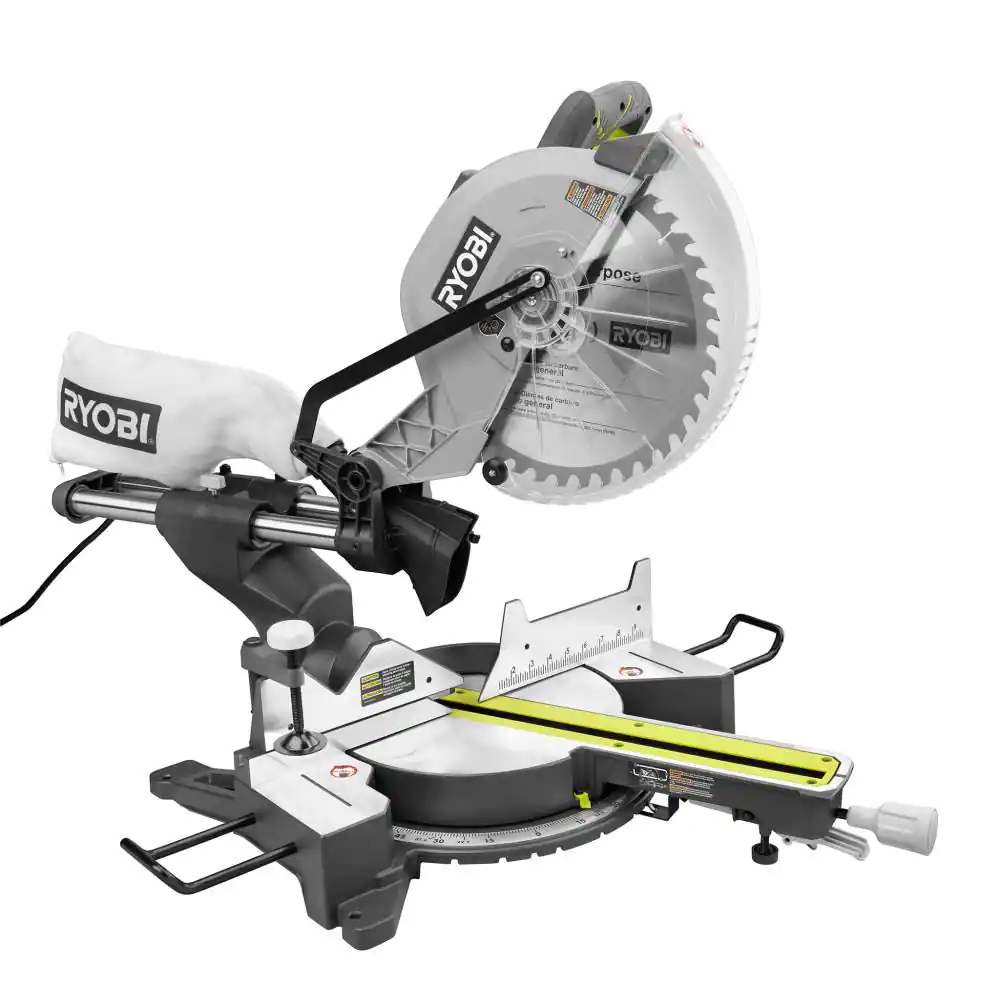
Sliding Compound Miter Saws: This advanced version incorporates a sliding mechanism that allows the saw head to glide forward across the material, enabling wider crosscuts compared to a standard compound miter saw.
Key Components:
-
Blade: The size (typically 8″ to 12″) and tooth count of the blade will determine the type of cuts achievable. For most woodworking applications, a 10″ blade with 80 teeth is a versatile choice.
-
Miter Table: This table rotates left and right, allowing for angled (miter) cuts up to 45 degrees (or more on some models).
-
Bevel Feature: This allows the saw head to tilt, enabling bevel cuts on the vertical plane. Some miter saws offer single bevel functionality, tilting only in one direction, while dual bevel saws offer more flexibility with tilting in both directions.
-
Fence: This fixed or adjustable guide ensures your workpiece is positioned correctly for accurate cuts.
-
Dust Port: Most miter saws feature a dust port that can be connected to a shop vacuum for dust collection, maintaining a cleaner work environment.
Choosing the Right Miter Saw
Consider these factors when selecting a miter saw:
-
Your Needs: Evaluate the types of projects you typically undertake. A basic compound miter saw may suffice for smaller projects with straight cuts. If you plan on working with wider stock or require more complex angled cuts, a sliding compound miter saw provides greater versatility.
-
Blade Size: A larger blade (12″) can handle thicker materials, but a smaller blade (10″) may offer better maneuverability for intricate cuts.
-
Power: A higher motor amperage (15 amps or more) translates to greater power for tackling tough cuts in hardwoods.
-
Budget: Miter saws range in price depending on features and functionalities. Determine your budget and prioritize the features most important to your needs.

Setting Up and Using Your Miter Saw
Safety First:
Always wear safety glasses, ear protection, and a dust mask when operating a miter saw. Ensure the saw is unplugged before making any adjustments.
Basic Setup:
-
Secure the miter saw to a sturdy workbench at an appropriate height for comfortable use.
-
Attach the desired blade for your project. Ensure the blade is sharp and free of damage.
-
Adjust the miter angle and bevel as needed according to your cutting requirements. Refer to the saw’s manual for specific instructions.
-
Double-check that the saw guard and fence are positioned correctly.
Making Accurate Cuts:
-
Measure and mark your cut lines on the workpiece.
-
Clamp the workpiece securely to the miter saw table, ensuring it is flat and stable.
-
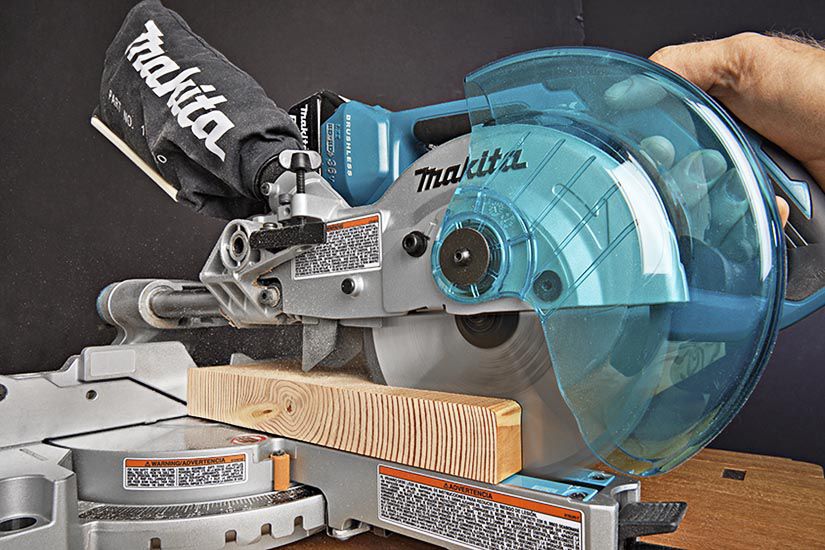
Power on the saw and allow it to reach full speed before feeding the material into the blade.
-
Guide the workpiece steadily and slowly through the blade, maintaining firm pressure.
-
Turn off the saw and unplug it before making any adjustments or measurements on the cut piece.
Mastering Different Cuts:
-
Crosscuts: These are simple straight cuts made perpendicular to the wood grain.
-
Miter Cuts: These are angled cuts made on the horizontal plane, typically at 45 degrees for picture frames or crown molding.
-
Bevel Cuts: These are angled cuts made on the vertical plane, useful for creating decorative trim or compound angles.
-
Compound Cuts: These combine a miter and bevel cut in a single operation.
Pro Tips:
-
Utilize a stop block on the fence to achieve repetitive cuts of identical lengths.
-
For intricate or delicate cuts, employ a push stick to safely guide the material through the blade while keeping your hands at a safe distance.
Advanced Techniques and Applications
Once you’ve mastered the basics, your miter saw can become an even more versatile tool in your woodworking arsenal. Here are some advanced techniques and applications to explore:
-
Dadoes and Rabbets: Dadoes are rectangular grooves cut into a workpiece to house another piece of wood. Rabbets are similar but with a square shoulder at the bottom. By adjusting the fence distance and using multiple passes with the saw, you can create precise dadoes and rabbets for joinery applications.
-
Crown Molding: Miter saws excel at creating the angled cuts needed for installing crown molding. The precise control over bevel and miter angles allows for seamless mitered corners. Practice with scrap pieces beforehand to ensure perfect fits.
-
Angled Legs and Joints: For building furniture or creating angled supports, the miter saw allows for accurate and efficient cutting of legs and braces at precise angles.
-
Compound Miter Angles: By combining miter and bevel cuts, you can achieve complex angles for projects like picture frames with non-standard angles or decorative trim work.
Maintaining Your Miter Saw
Regular maintenance is crucial for ensuring the longevity and optimal performance of your miter saw. Here are some key practices:
-
Keep the Blade Sharp: A dull blade will not only produce rough cuts but also requires more force to feed the material through, putting strain on the motor. Invest in a good quality blade sharpener or replace the blade periodically depending on usage.
-
Clean and Lubricate: Wipe down the saw table and fence after each use to remove sawdust buildup. Refer to the owner’s manual for recommended lubrication points and procedures to maintain smooth operation.
-
Dust Collection: Make sure to empty the dust bag or connect the dust port to a shop vacuum regularly to prevent dust buildup within the saw, which can hinder performance and create safety hazards.
-
Calibrate Occasionally: Over time, the saw’s miter angle and bevel settings may go slightly out of calibration. The owner’s manual will provide instructions on how to recalibrate these features to ensure continued accuracy.

The miter saw is a valuable asset for any woodworker, offering precision and efficiency for various cutting tasks. By understanding its functionalities, proper use, and maintenance techniques, you can unlock the full potential of this versatile tool and elevate your woodworking projects to a new level. So, power up your miter saw, and embrace the world of clean cuts and creative possibilities!


Leave a Reply