


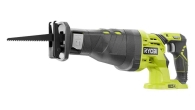
The Miter Saw: Precision and Creativity in Carpentry
For aspiring woodworkers, the path to refined projects can feel daunting. But fear not! There’s a trusty tool waiting to transform your creations from basic to beautiful: the miter saw. This specialized power tool excels at making precise angled cuts, a skill that forms the cornerstone of countless carpentry tasks. Whether you’re crafting delicate picture frames, installing elegant crown molding, or building a sturdy deck, a miter saw will become your partner in precision.
What is a Miter Saw?
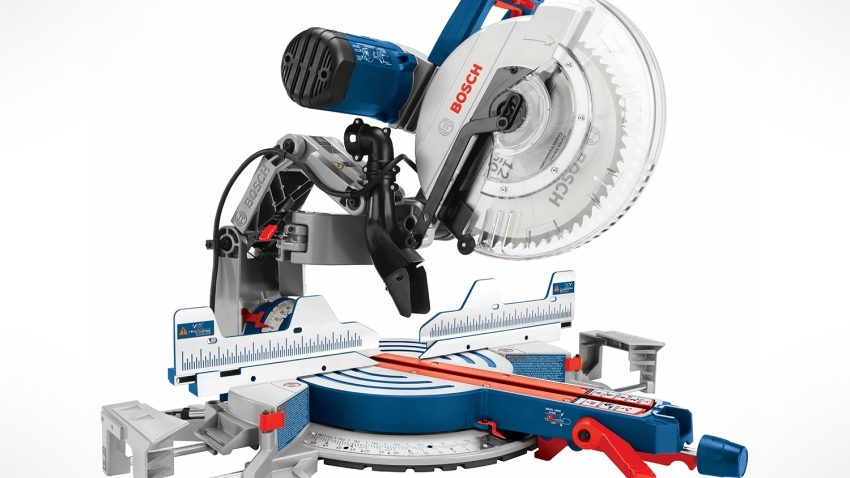
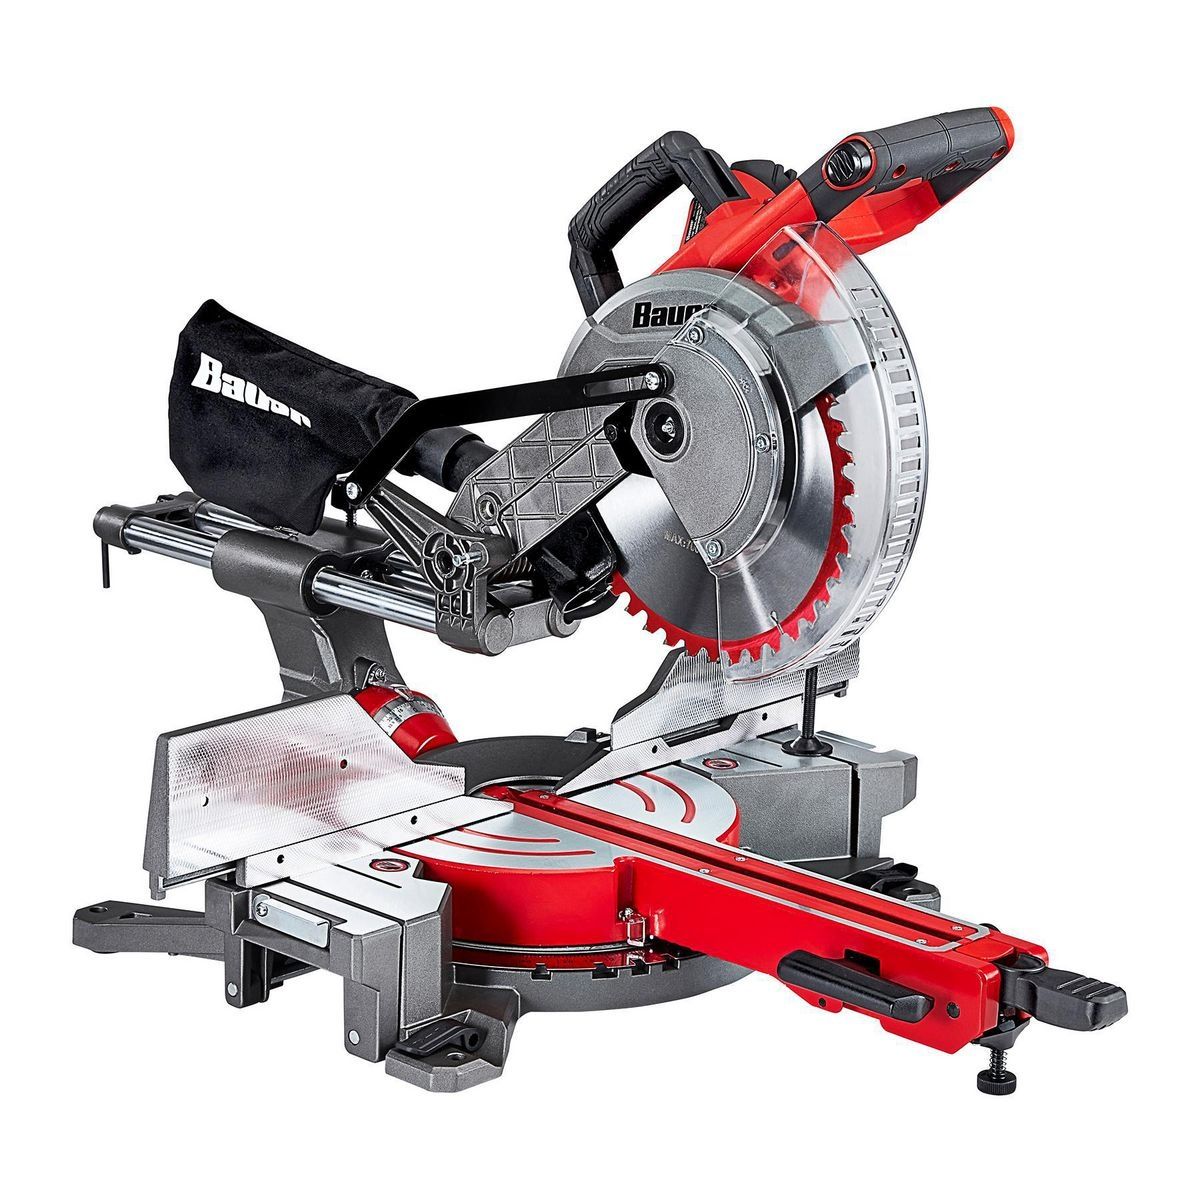
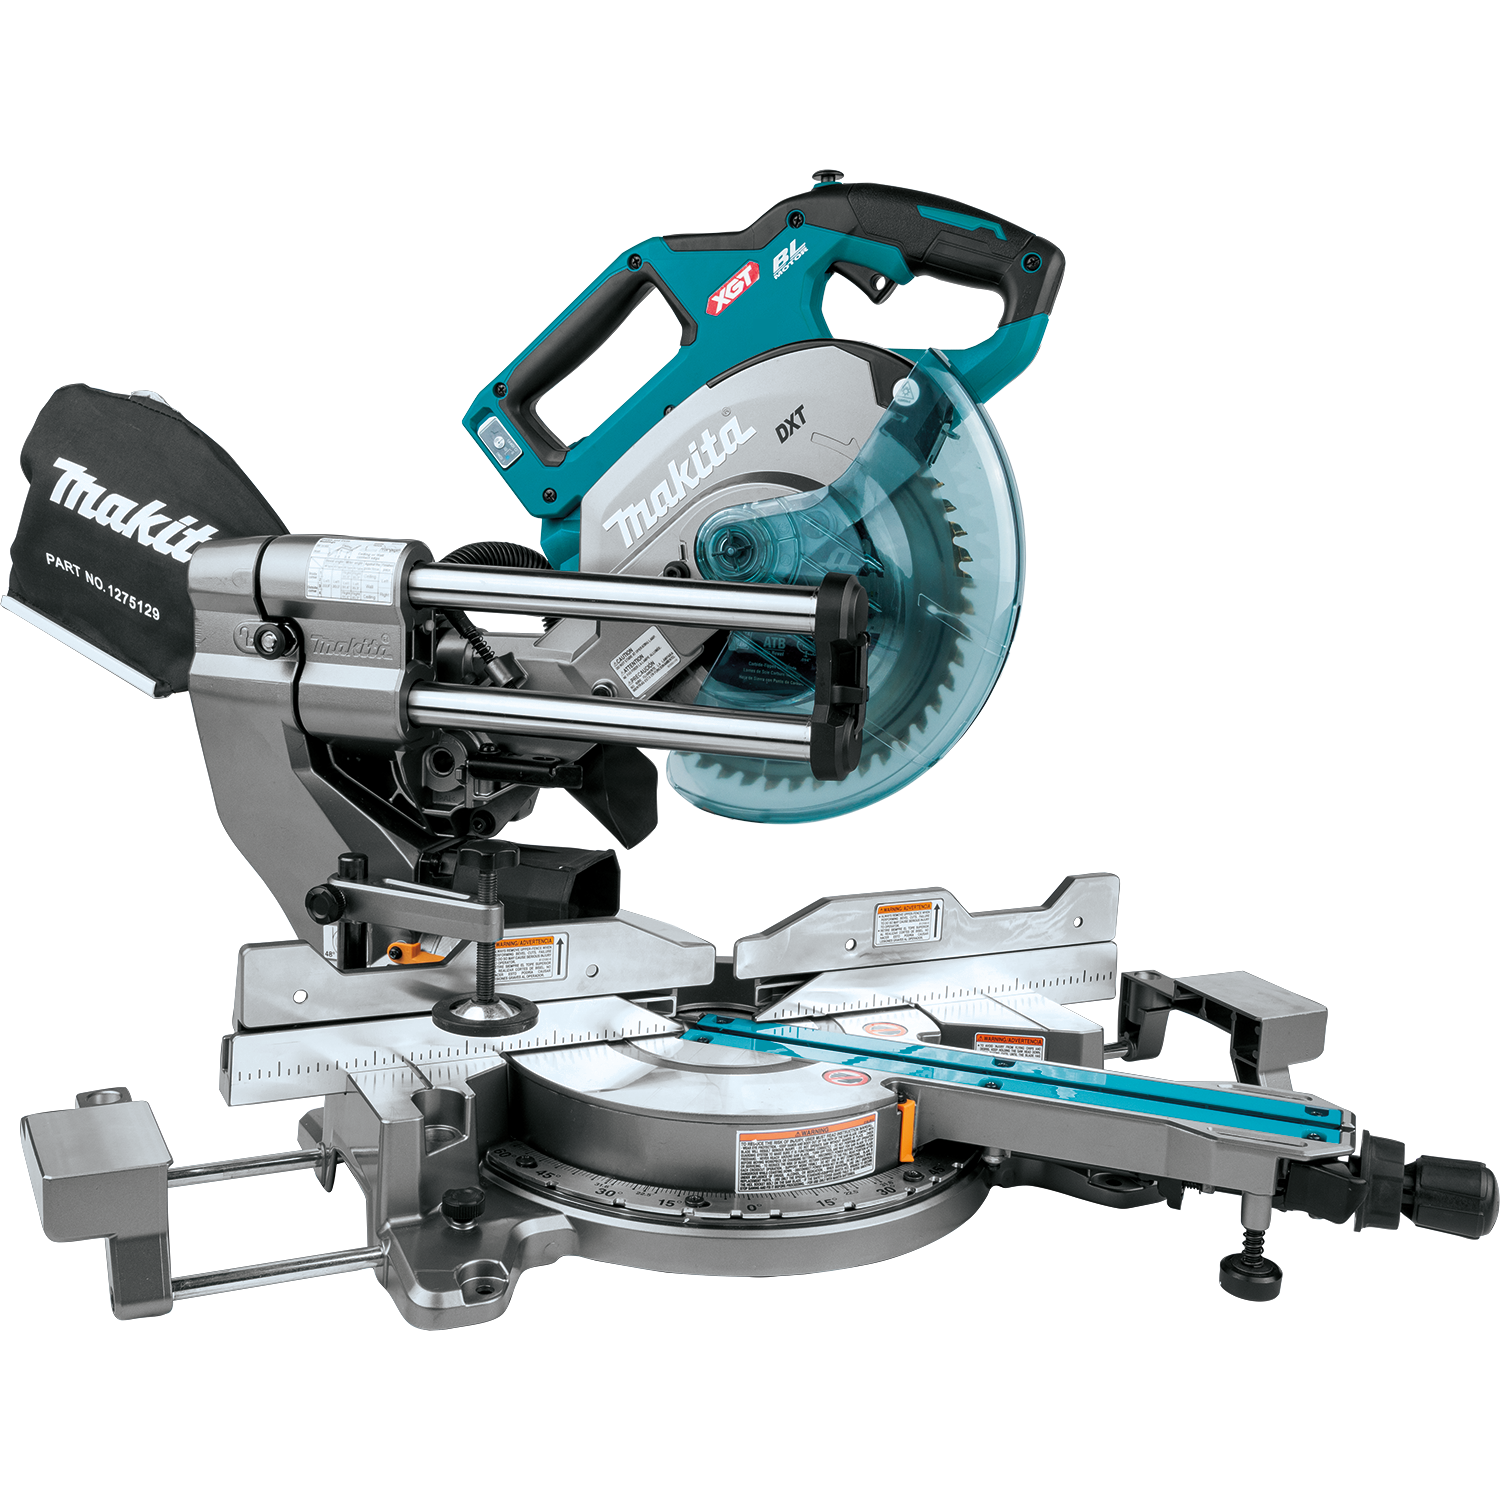
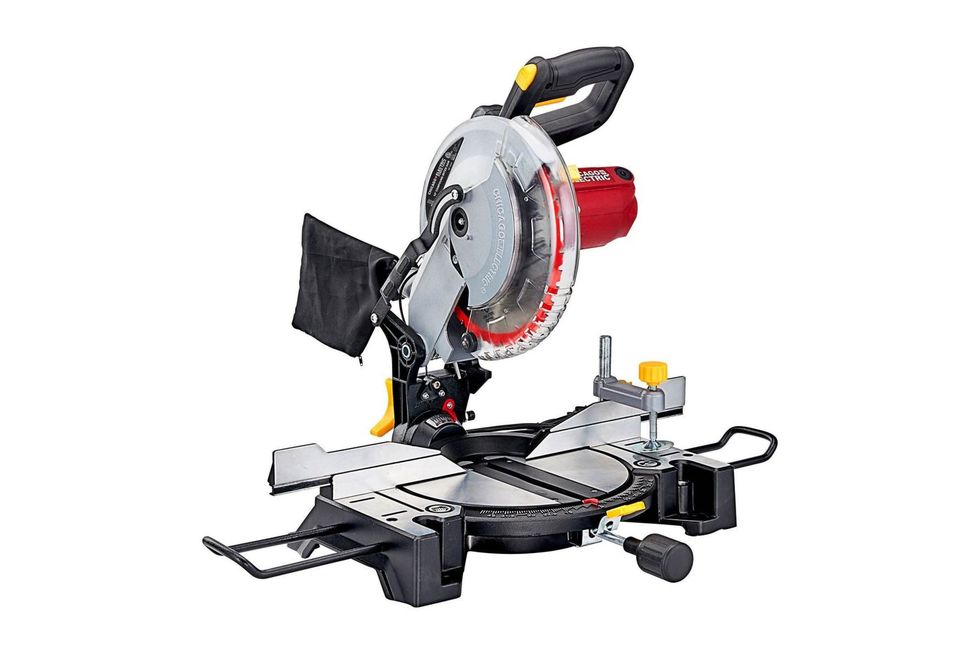
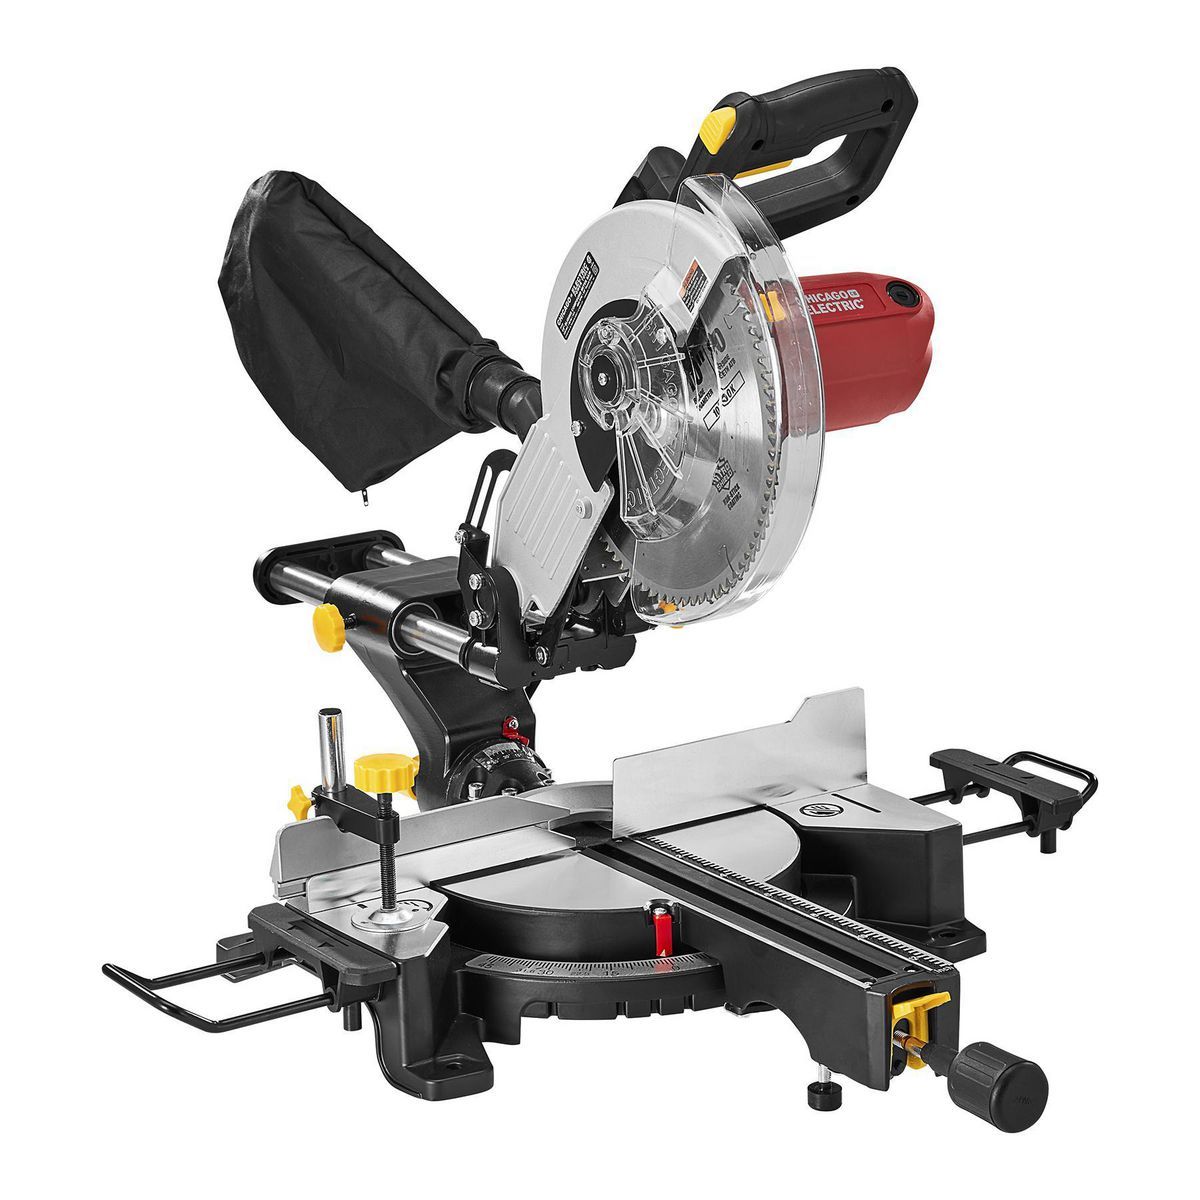
In essence, a miter saw is a stationary saw designed for controlled cuts at various angles. Unlike a free-cutting circular saw, a miter saw features a mounted blade that pivots on a swing arm. This allows for effortless adjustment of the cutting angle, ensuring clean and consistent results.
Types of Miter Saws:
However, the functionality of a miter saw goes beyond simple angle cuts. There are two main types to choose from:
- Basic Miter Saw: This is the workhorse for many DIY enthusiasts. It allows for precise crosscuts (cuts straight across the grain) and miter cuts (angled cuts typically used for corners).
- Compound Miter Saw: As the name suggests, this saw offers an additional dimension of control. In addition to miter and bevel cuts (angled cuts along the length of the material), a compound miter saw allows you to combine these angles for even more intricate cuts.
Benefits of Using a Miter Saw:
Now that you understand the different types, let’s explore the advantages that miter saws offer:
- Precision Cutting: The biggest advantage of a miter saw is its ability to deliver consistently accurate cuts. The fixed blade and stable base minimize wobble, resulting in clean edges that fit together flawlessly.
- Repeatability: Once you’ve set the desired angle, the miter saw allows you to replicate it effortlessly. This is crucial for projects that require identical cuts for multiple pieces.
- Safety: Compared to a handheld circular saw, a miter saw offers improved safety. The stationary nature of the tool reduces the risk of blade mishaps.
- Versatility: While miter saws shine at angled cuts, they are also adept at making clean and straight crosscuts. This makes them a valuable all-rounder for various carpentry tasks.
- Efficiency: Miter saws streamline your workflow. With quick angle adjustments and repeatable cuts, you can complete projects faster and with less frustration.
Choosing the Right Miter Saw:
Before you rush out and buy a miter saw, here are some crucial factors to consider:
- Project Needs: Evaluate the types of projects you’ll be tackling. A basic miter saw might suffice for simple tasks, but for complex cuts, a compound miter saw is ideal.
- Blade Size: The size of the blade determines the cutting capacity of the saw. Larger blades can handle thicker materials, but they also come with a higher price tag.
- Power Source: Miter saws come in corded and cordless options. Corded saws offer continuous power, while cordless saws provide portability. Choose the option that best suits your workspace and project needs.
- Dust Collection: Miter saws generate a lot of sawdust. Consider a saw with a dust collection port to maintain a cleaner work environment.
Safety First:
Once you’ve selected your perfect miter saw, it’s time to get cutting! Here are some essential safety tips to remember:
- Always wear safety glasses and ear protection.
- Double-check your measurements and angles before making a cut.
- Secure your workpiece firmly using clamps.
- Never reach over a spinning blade.
- Turn off the saw and unplug it before making adjustments.
Choosing the right tool based on the specific project requirements
The success of any project hinges on using the right tool for the job. Just like a painter wouldn’t use a screwdriver to apply color, a carpenter wouldn’t attempt delicate cuts with an axe. Selecting the most suitable tool ensures efficiency, safety, and ultimately, a well-finished product. Here’s a breakdown of how to approach tool selection based on specific project requirements:
Define Your Project Goals:
The first step is to clearly understand the project’s objective. Are you building a deck, fixing a leaky faucet, or crafting a decorative birdhouse? Knowing the end goal helps narrow down the range of tools you might consider.
Analyze Project Requirements:
Once you have a clear vision, delve deeper into the specifics of the project. This involves factors like:
- Material: The material you’re working with (wood, metal, plastic) will influence the type of tool needed. For instance, cutting wood requires different tools compared to cutting metal.
- Task: Identify the specific tasks involved. Are you making straight cuts, drilling holes, sanding surfaces, or applying a finish? Each task often has a dedicated tool for optimal results.
- Precision: Consider the level of precision required. Delicate detail work demands a more precise tool compared to rough framing tasks.
- Scale: Is the project small and intricate, or large and broad? The size of the project can influence the size and power of the tool needed.
Research Available Tools:
With a firm grasp of your project requirements, research tools that align with those needs. The internet and hardware stores offer a vast array of options, so focus on tools specifically designed for your material, task, and desired precision level.
Consider Tool Features:
Once you have a shortlist of potential tools, delve deeper into their features. Here are some key aspects to consider:
- Power Source: Corded tools offer continuous power, while cordless options provide portability. Choose based on your workspace and project needs.
- Size and Weight: Heavy-duty tools might be powerful, but they can be cumbersome for delicate work. Consider the size and weight in relation to the project’s demands.
- Versatility: Some tools offer multiple functions, increasing their overall value. For example, a multi-tool might combine drilling, sawing, and sanding capabilities.
- Ease of Use: If you’re a beginner, prioritize user-friendly tools with clear instructions and safety features.
Budgetary Considerations:
Tools range in price from basic hand tools to high-powered machinery. Set a realistic budget and prioritize tools you’ll use frequently. For occasional projects, consider renting specialized tools instead of buying them outright.
By following these steps and carefully matching the project requirements with the capabilities of various tools, you’ll be well on your way to selecting the perfect tools for the job. Remember, the right tool can make all the difference in achieving a successful and enjoyable project experience.
Projects to Put Your Skills to the Test:
With a little practice and these safety precautions in mind, your miter saw will become an indispensable tool in your woodworking arsenal. Here are some inspiring projects you can tackle with your newfound skills:
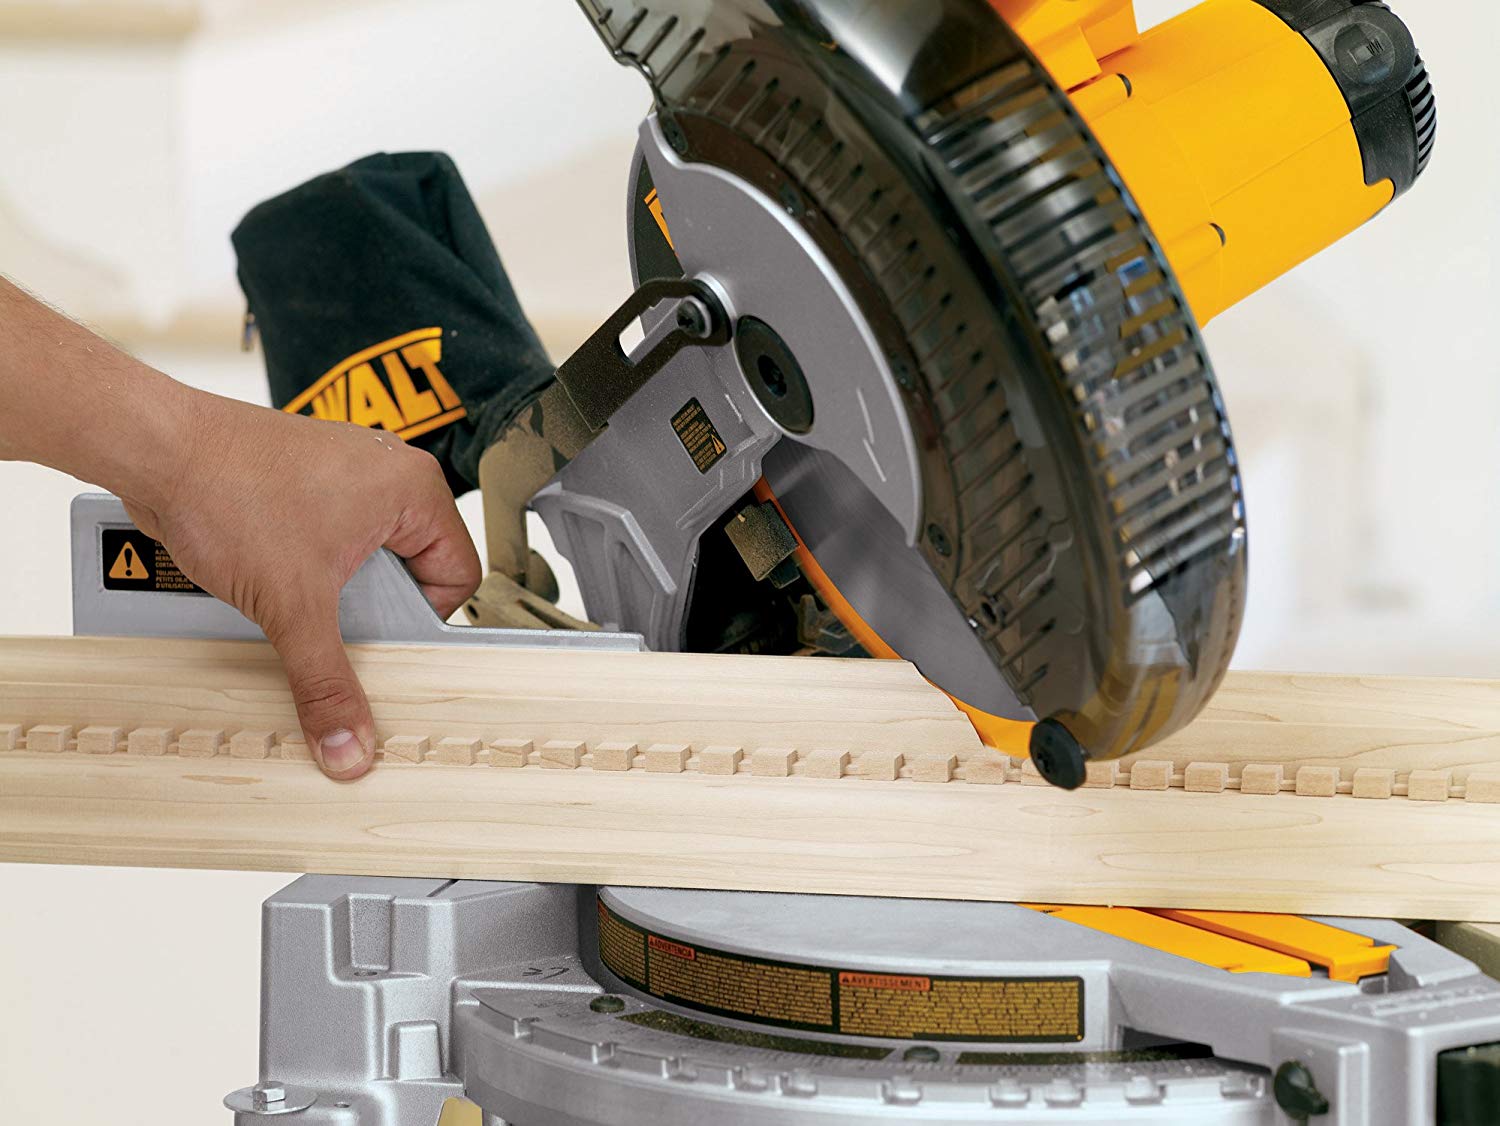
- Picture Frames: Craft beautiful and personalized picture frames with perfectly aligned mitered corners.
- Crown Molding: Elevate your ceilings with professionally finished crown molding, made possible by precise angled cuts.
- Shelving and Cabinets: Construct sturdy shelves and cabinets with clean and consistent cuts, thanks to the miter saw’s repeatability.
- Trimming and Molding: Enhance your doors, windows, and baseboards with expertly cut trim and molding pieces.
The miter saw is more than just a tool; it’s a gateway to a world of creative possibilities. So, unleash your inner carpenter and embark on exciting projects, all with the confidence that your miter saw will deliver the precision and control you need to bring your vision to life.


Leave a Reply