


Mastering the Hole Saw: A Comprehensive Guide
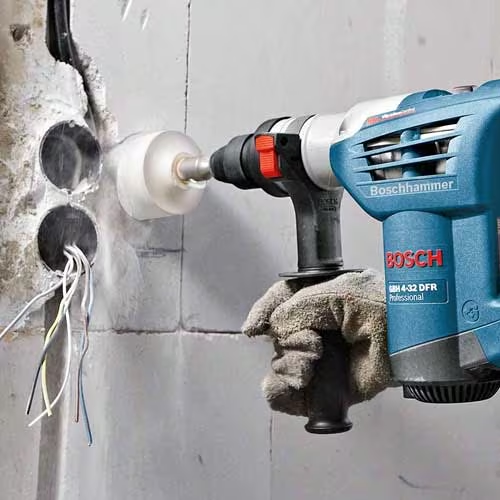
The hole saw, a trusty sidekick in any toolbox, allows you to create clean, precise holes in various materials. From running electrical lines to installing cabinet hardware, its versatility makes it a go-to tool for DIYers and professionals alike. However, using a hole saw effectively requires understanding its components, proper technique, and safety precautions. This comprehensive guide will equip you with the knowledge and skills to tackle your next project with confidence.
Unveiling the Hole Saw
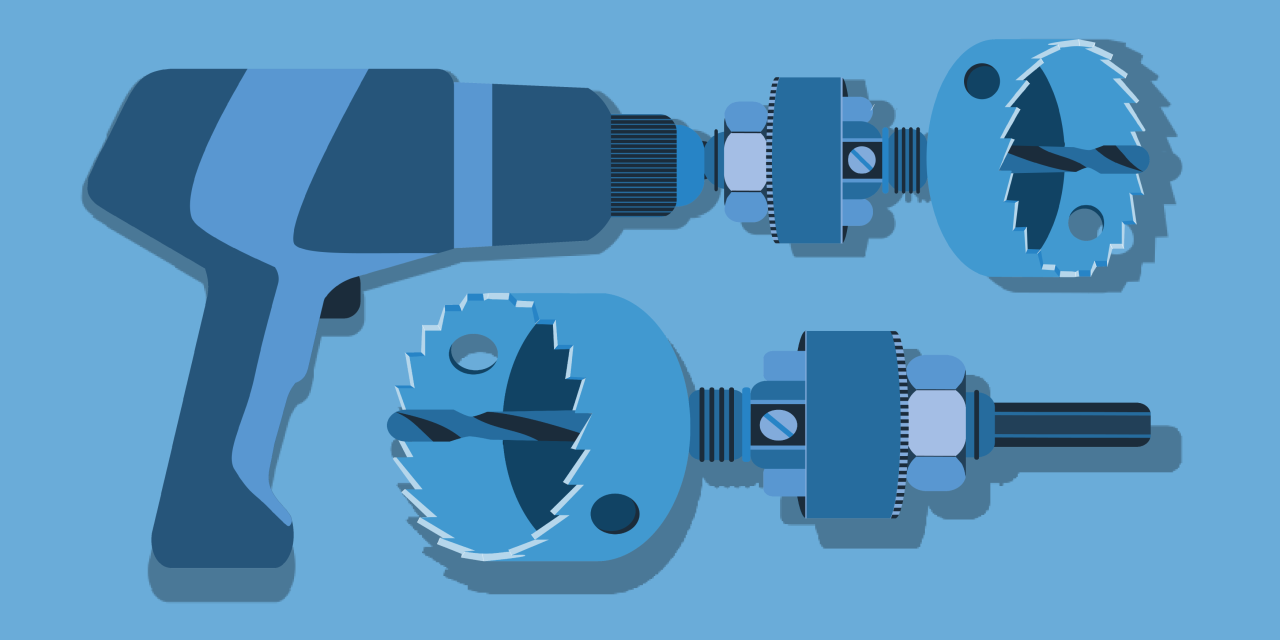
Before diving into the how-to, let’s get acquainted with the hole saw’s anatomy. The core component is a circular blade with sharp teeth along its outer edge. This blade, often made of bi-metal for enhanced durability, cuts through the material. A pilot drill bit in the center ensures a precise starting point and guides the hole saw during cutting. The arbor, a central shaft, connects the hole saw to your drill. Finally, a nut or a screw mechanism secures the hole saw onto the arbor.
Gearing Up: Choosing the Right Hole Saw
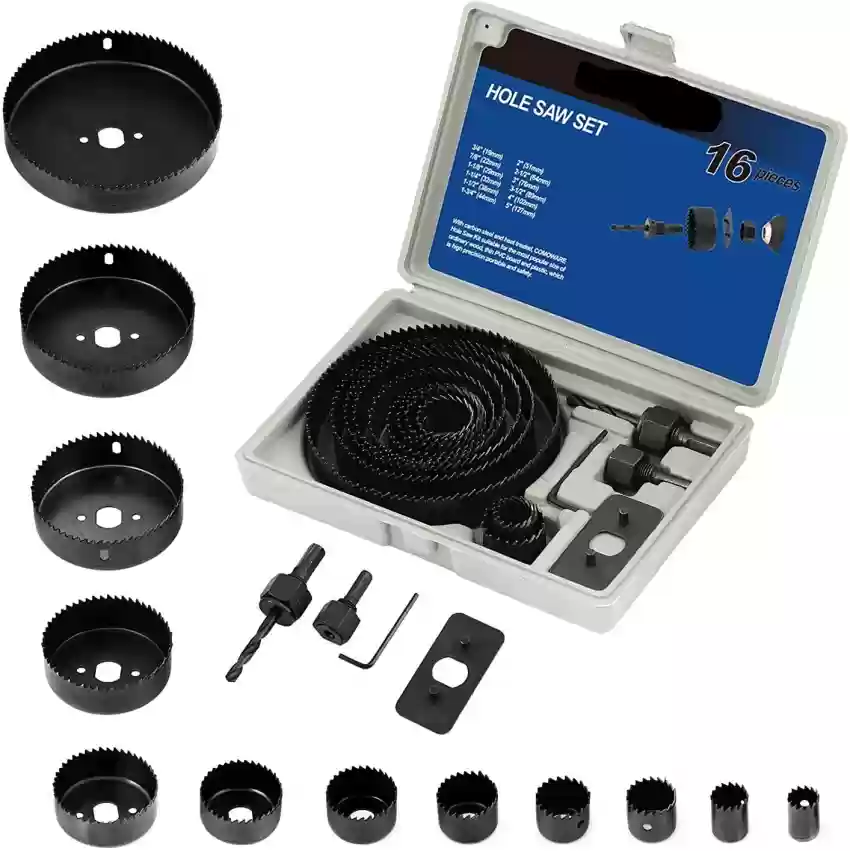
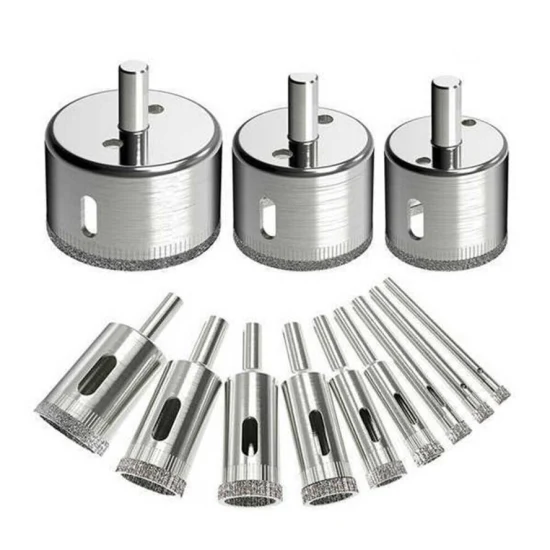
Hole saws come in a variety of diameters to accommodate different hole size requirements. Select the size that precisely matches the component you’re installing, like a pipe or a receptacle box. Additionally, hole saws are designed for specific materials. Woodworking projects call for a standard hole saw, while metal or masonry applications require specialized hole saws with appropriate tooth configurations.
Next, consider the depth of the cut you need to make. Deep-cut hole saws have a longer body to accommodate thicker materials. Standard hole saws are sufficient for most DIY projects. However, if you’re unsure, opting for a deep-cut saw provides additional versatility.
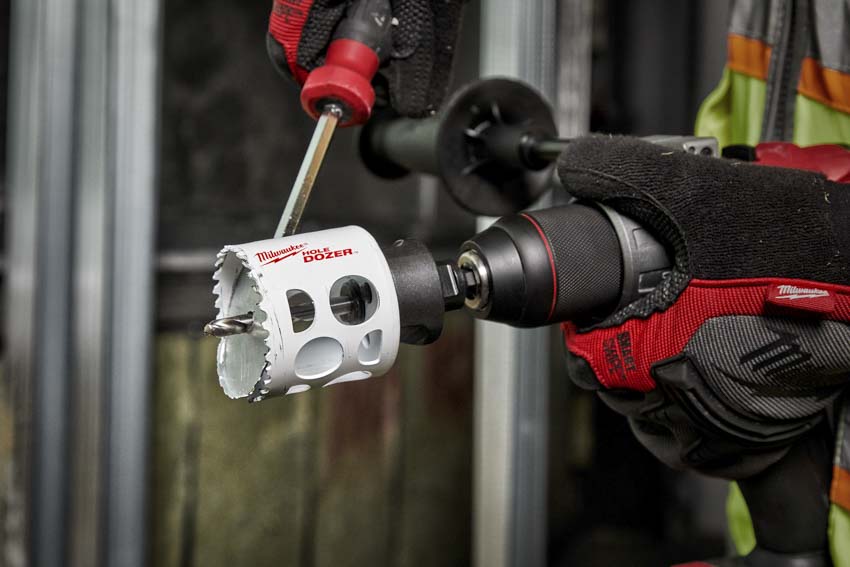
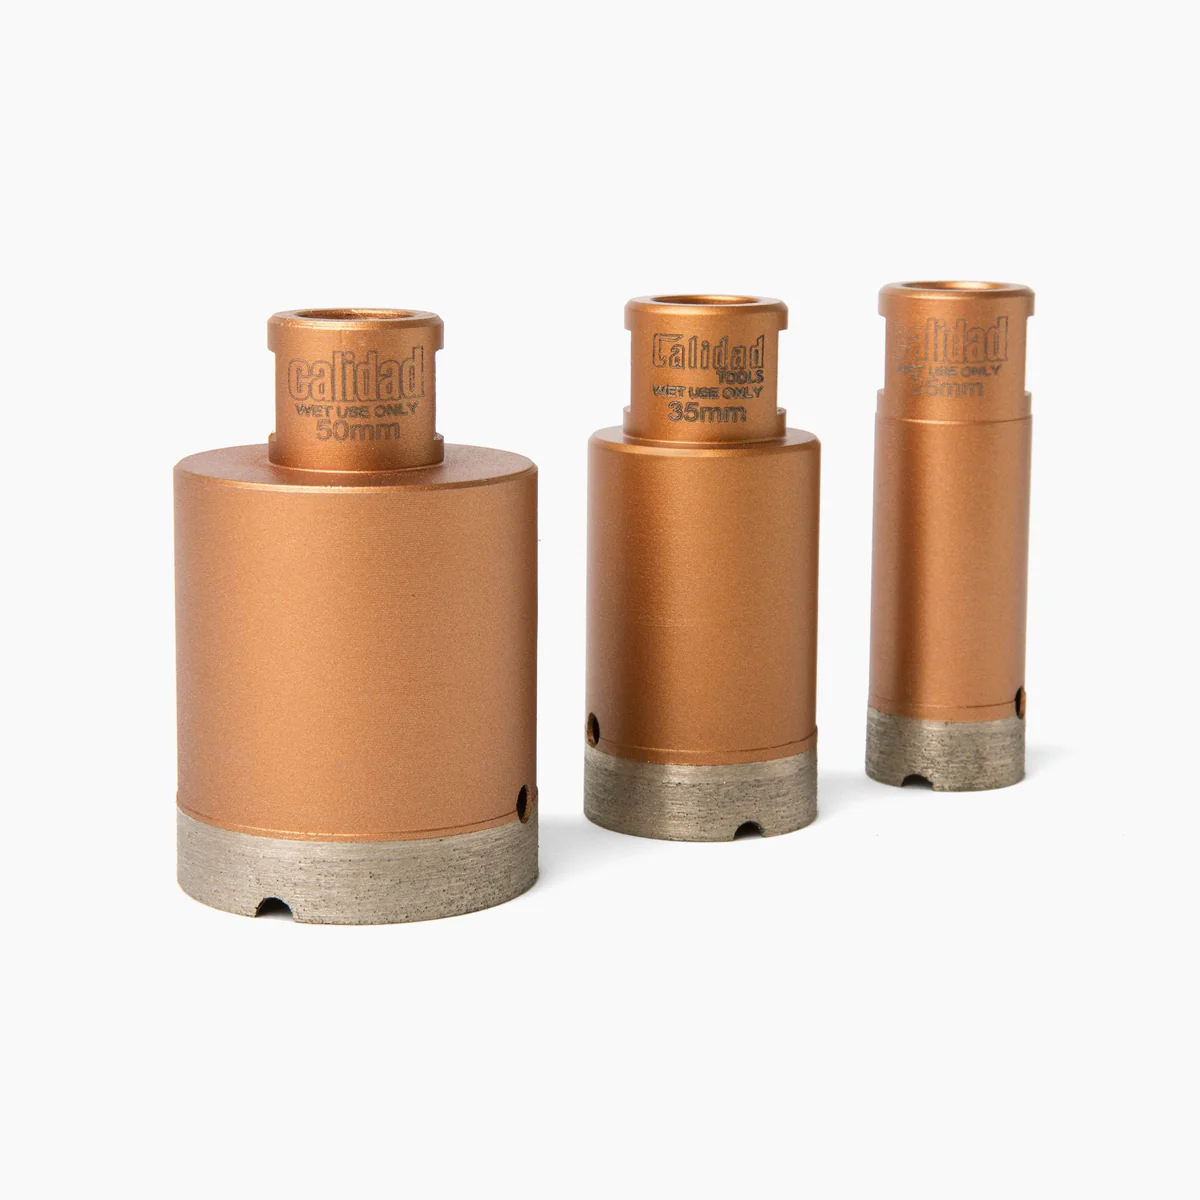
Finally, there are two main types of hole saws: carbide-tipped and bi-metal. Carbide-tipped hole saws offer superior durability and are ideal for abrasive materials like brick or concrete. Bi-metal hole saws are more affordable and suitable for wood and softer metals like aluminum.
Preparing for Success: The Essential Steps
Now that you have the right tool for the job, let’s get ready to cut. Here’s a step-by-step guide on how to use a hole saw effectively:
-
Mark Your Spot: First things first, meticulously mark the location of the hole on your workpiece. Use a pencil and a ruler to ensure accuracy.
-
Secure the Material: Clamp your workpiece firmly to a stable surface to prevent it from shifting during drilling. This not only improves safety but also ensures a clean cut.
-
Attach the Hole Saw: Install the hole saw onto the drill following the manufacturer’s instructions. Typically, this involves loosening the arbor nut or screw mechanism, inserting the hole saw, and then tightening the securing mechanism.
-
Pilot Hole Power: Drill a pilot hole using a drill bit slightly smaller than the pilot bit on the hole saw. This establishes a precise starting point and prevents the hole saw from wandering.
-
Level Up, Drill Straight: Ensure your drill is perpendicular to the workpiece surface. A slight tilt can result in an uneven or off-center hole.
-
Steady Does It: Begin drilling at a moderate speed. Apply gentle, downward pressure to allow the hole saw to do its job. Avoid forcing the drill, as this can damage the bit or the material.
-
Clearance for Takeoff: As you cut, wood chips and debris will accumulate inside the hole saw. To maintain a clean cut and prevent binding, periodically stop drilling and withdraw the hole saw to clear out the debris.
-
Cutting Through: Once the pilot bit emerges on the other side of the workpiece, it’s time to switch tactics. Stop drilling and remove the drill bit from the hole saw.
-
Flipping the Script (Optional): For thicker materials, to avoid splintering on the backside, you can flip the workpiece over and continue drilling from the opposite side using the pilot hole as your guide.
-
Completion Time: Continue drilling until the hole saw completely cuts through the material. Once finished, turn off the drill and carefully remove the hole saw.
Pro Tips for Flawless Cuts
Here are some additional pointers to elevate your hole saw mastery:
- Lubricate for Success: When cutting metal or plastic, apply a lubricant like cutting oil to the hole saw teeth. This reduces friction, extends the saw’s lifespan, and creates a cleaner cut.
- Mark Twice, Drill Once: Double-check your markings before drilling to avoid any mistakes. A slight error can lead to wasted material or the need to patch up imperfections.
- Mind the Material: Adjust your drilling speed based on the material. Harder materials require a slower drilling speed to prevent overheating and bit damage.
- Sharpen Up: Regularly sharpen your hole saw teeth to maintain optimal cutting performance. Blunt teeth will result in rough cuts and require more force during drilling, putting unnecessary strain on both the tool and the user.
-
Know When to Walk Away: Hole saws have a finite lifespan. If the teeth become excessively worn or damaged, replace the hole saw to ensure safety and achieve clean cuts.
-
Safety First: Always wear safety glasses to protect your eyes from flying debris. Additionally, use gloves to shield your hands from potential cuts or scrapes.
Beyond the Basics: Advanced Hole Saw Techniques
For even more control and versatility, here are some advanced hole saw techniques to explore:
Cutting Circles Within Existing Holes:
Need to create a smaller hole within a larger pre-drilled hole? You can use a hole saw with a diameter smaller than the existing hole. Just ensure the pilot bit of the smaller hole saw can fit comfortably within the larger hole.
Hole Saw vs. Jigsaw:
While hole saws are ideal for creating perfectly circular holes, jigsaws offer more flexibility for irregular shapes. If your project requires a non-circular cutout, consider using a jigsaw. However, for precise circular holes, the hole saw remains the champion.
Hole Saw Salvages:
Got a stuck hole saw? Before giving up, try these tricks:
- Reduce Friction: Apply a lubricant like penetrating oil around the saw to loosen its grip.
- Gentle Does It: Tap the arbor of the hole saw lightly with a hammer to break the hold. Be cautious not to hit the hole saw itself, as this can damage it.
- Back It Out: If the above methods fail, try reversing the drill direction momentarily. In some cases, this can help loosen the saw.
The hole saw, when used correctly, is a powerful tool that can significantly enhance your DIY projects. By understanding its components, selecting the right saw for the job, and following the proper techniques, you can achieve clean, precise holes with ease. Remember, safety is paramount, so wear appropriate gear and prioritize caution while operating the drill. With practice and the knowledge gained from this guide, you’ll be well on your way to mastering the hole saw and tackling your next project with confidence.

Leave a Reply