


The Art of Sharpening a Hand Saw: Bringing Back the Bite
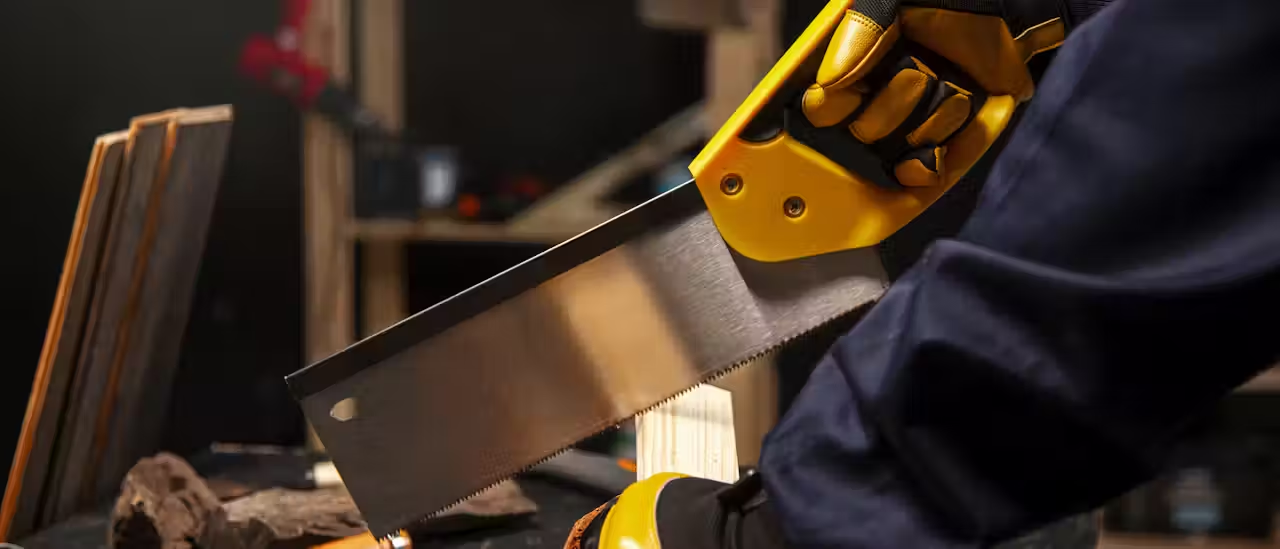
For generations, the rhythmic rasp of a hand saw cutting through wood has been a familiar sound in workshops. But in our age of power tools, these venerable tools can be relegated to the back of the shed, collecting dust and losing their edge (literally). However, a well-sharpened hand saw can be a thing of beauty, offering a precise and satisfying cutting experience. So, before you cast your hand saw aside, consider the joy of reviving it! Sharpening a hand saw is a process that requires a bit of patience and practice, but with the right knowledge and tools, you can transform a dull blade into a cutting champion.
Gearing Up: Tools and Materials
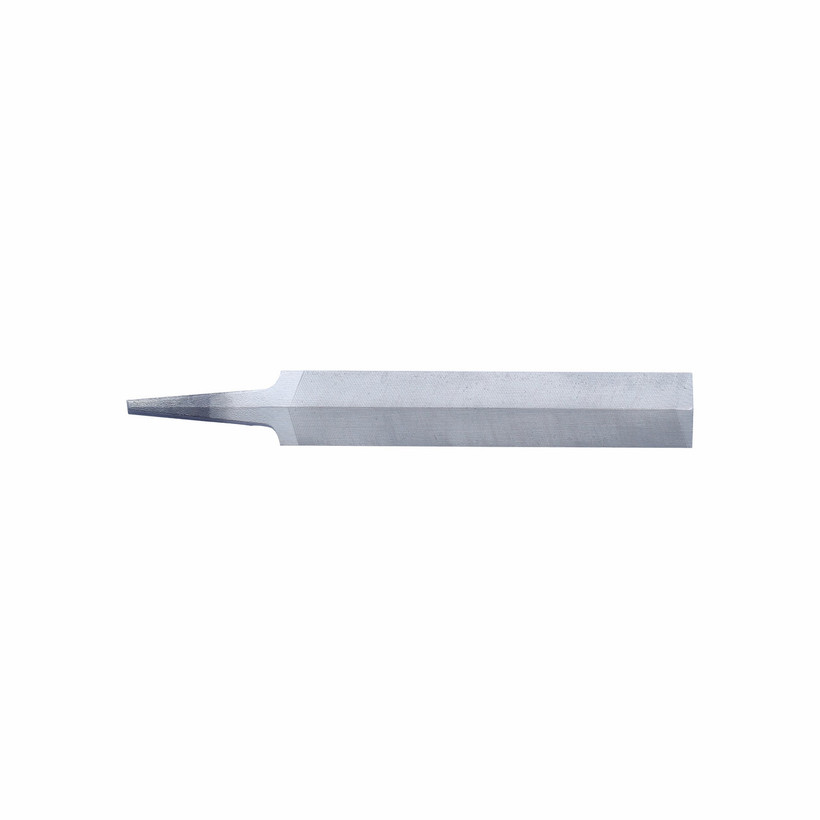
Before diving in, let’s gather the necessary equipment. The key player is a saw file. The type of file you need depends on the teeth per inch (TPI) of your saw. A higher TPI saw will require a finer file. Here’s a general guideline:
- For rip saws (7-8 TPI): 8-inch or 10-inch bastard-cut file
- For crosscut saws (8-12 TPI): 8-inch or 10-inch second-cut file
- For finer saws (13+ TPI): 6-inch or 8-inch smooth-cut file
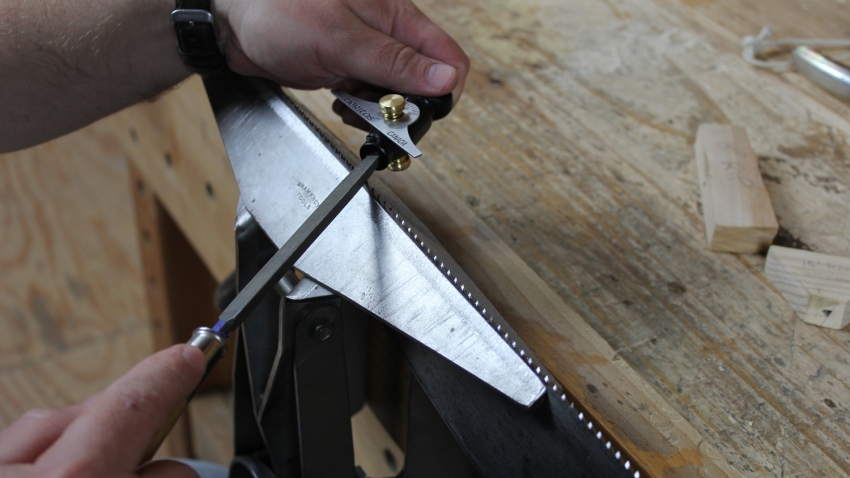
Next, you’ll need a saw vise to securely hold the saw in place while you work. A clamp can be a helpful substitute if you don’t have a vise. Finally, a deburring tool (a diamond stone or a fine-toothed file) will come in handy for removing any burrs left behind after filing. Safety glasses and gloves are also recommended.
Preparing the Saw: Cleaning and Inspection
Now that you have your tools, take a good look at your saw. Wipe away any dirt, grime, or rust with a rag soaked in a light oil or solvent. Examine the teeth for any damage or significant bending. If the teeth are badly bent or broken, professional sharpening might be necessary. However, for most basic sharpening needs, you can proceed with the following steps.
Setting the Teeth (if necessary)
Hand saws often have teeth that are intentionally bent slightly to one side (called set). This allows the blade to cut a wider kerf than its actual thickness, preventing the saw from binding in the wood. If your saw cuts with a lot of friction, the teeth might need to be set. A saw set tool is used for this purpose. However, setting teeth can be tricky for beginners, so it’s best to only attempt this if necessary. If you’re unsure, you can skip this step and focus on sharpening for now.
Jointing the Teeth (optional)
If the teeth appear uneven in height, you can use a saw jointer to even them out before sharpening. This step ensures a more consistent sharpening process. However, if the teeth are relatively uniform, you can move on to the next step.
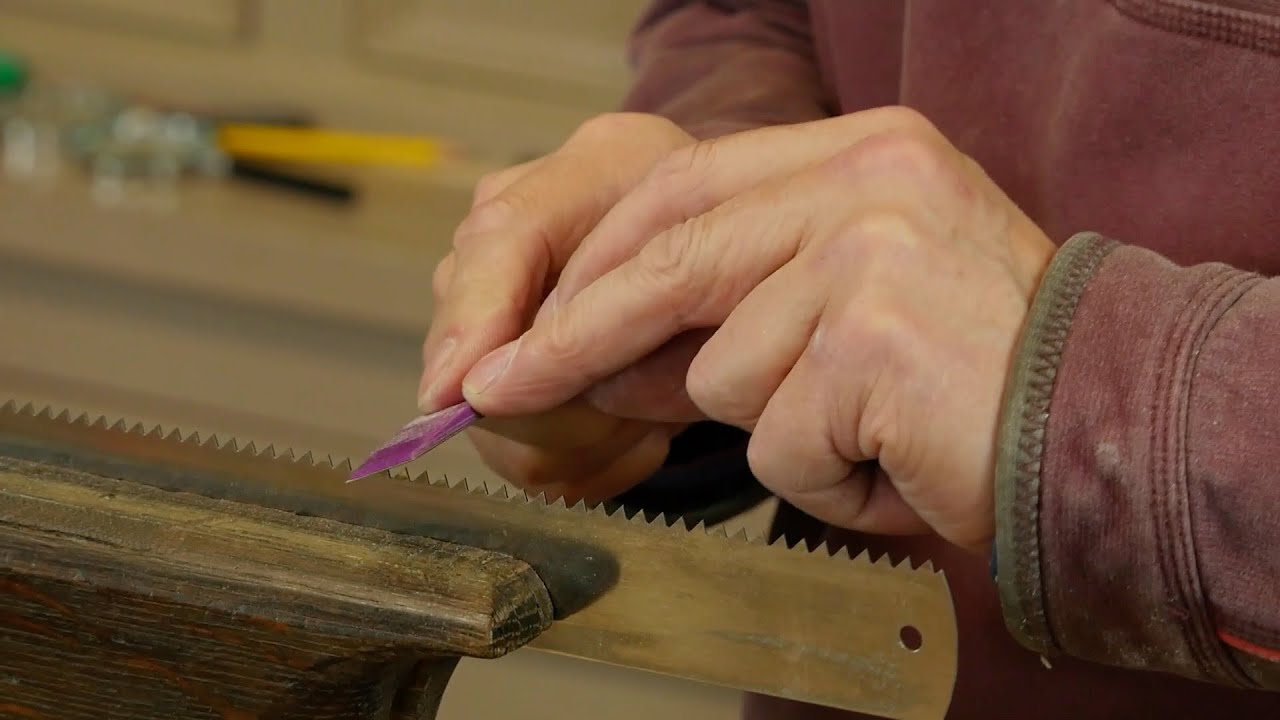
Sharpening the Teeth
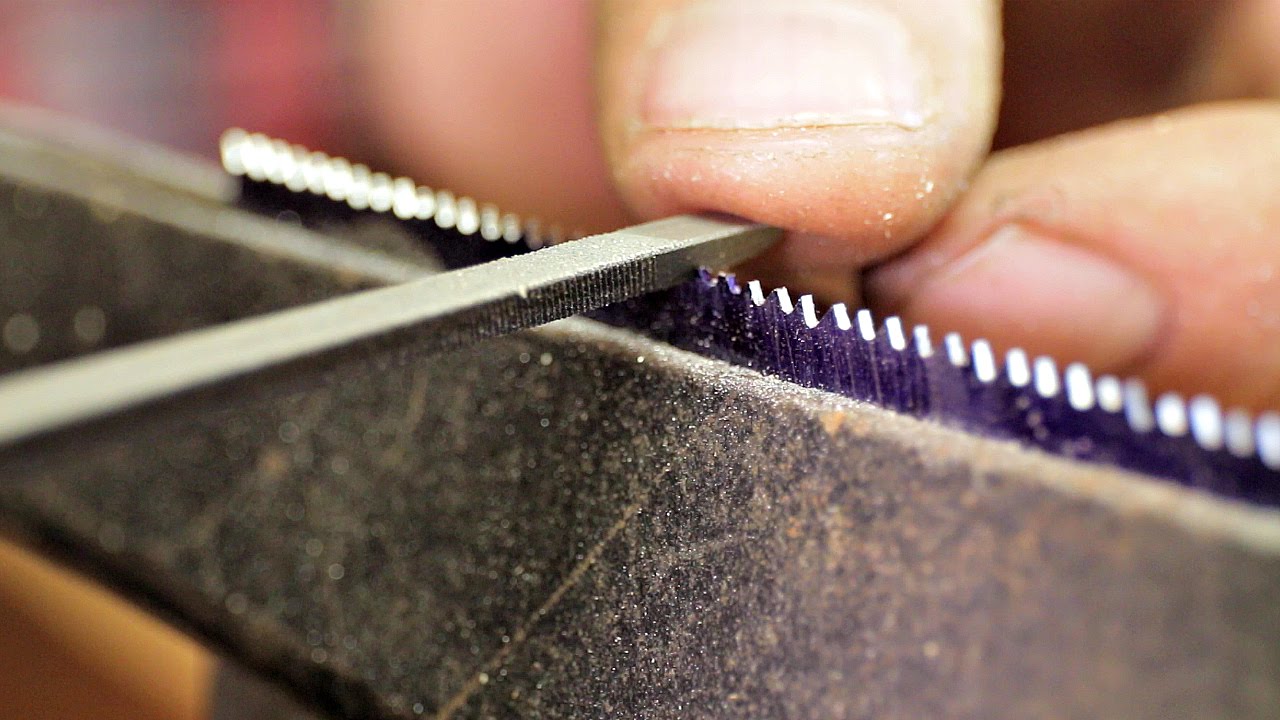
This is the heart of the process. Secure the saw in your vise or clamp, ensuring the blade is level and the teeth are pointing upwards. Now, grab your saw file and position it at the angle that matches the existing angle of the teeth (usually around 30-45 degrees). There are two main filing techniques: push stroke and pull stroke. Here’s a breakdown of both:
- Push stroke: With the file angled towards the handle of the saw, push the file forward along the top of the tooth, applying gentle pressure.
- Pull stroke: On the return stroke, lift the file slightly off the tooth to avoid blunting the newly sharpened edge.
Repeat these strokes for each tooth, maintaining a consistent angle and pressure. It’s better to take light, even strokes than to apply excessive force. Ideally, you should remove a minimal amount of metal to achieve a sharp edge.
Here are some additional tips for sharpening:
- Maintain a consistent direction: Always file in the same direction, either push or pull. Don’t alternate between the two.
- Sharpen every other tooth: Hand saws typically have teeth that alternate in direction. Sharpen every other tooth in one pass, then flip the saw over and sharpen the remaining teeth.
- Check your progress: Regularly examine your work. You can use a light source to see if the tops of the teeth are reflecting evenly.
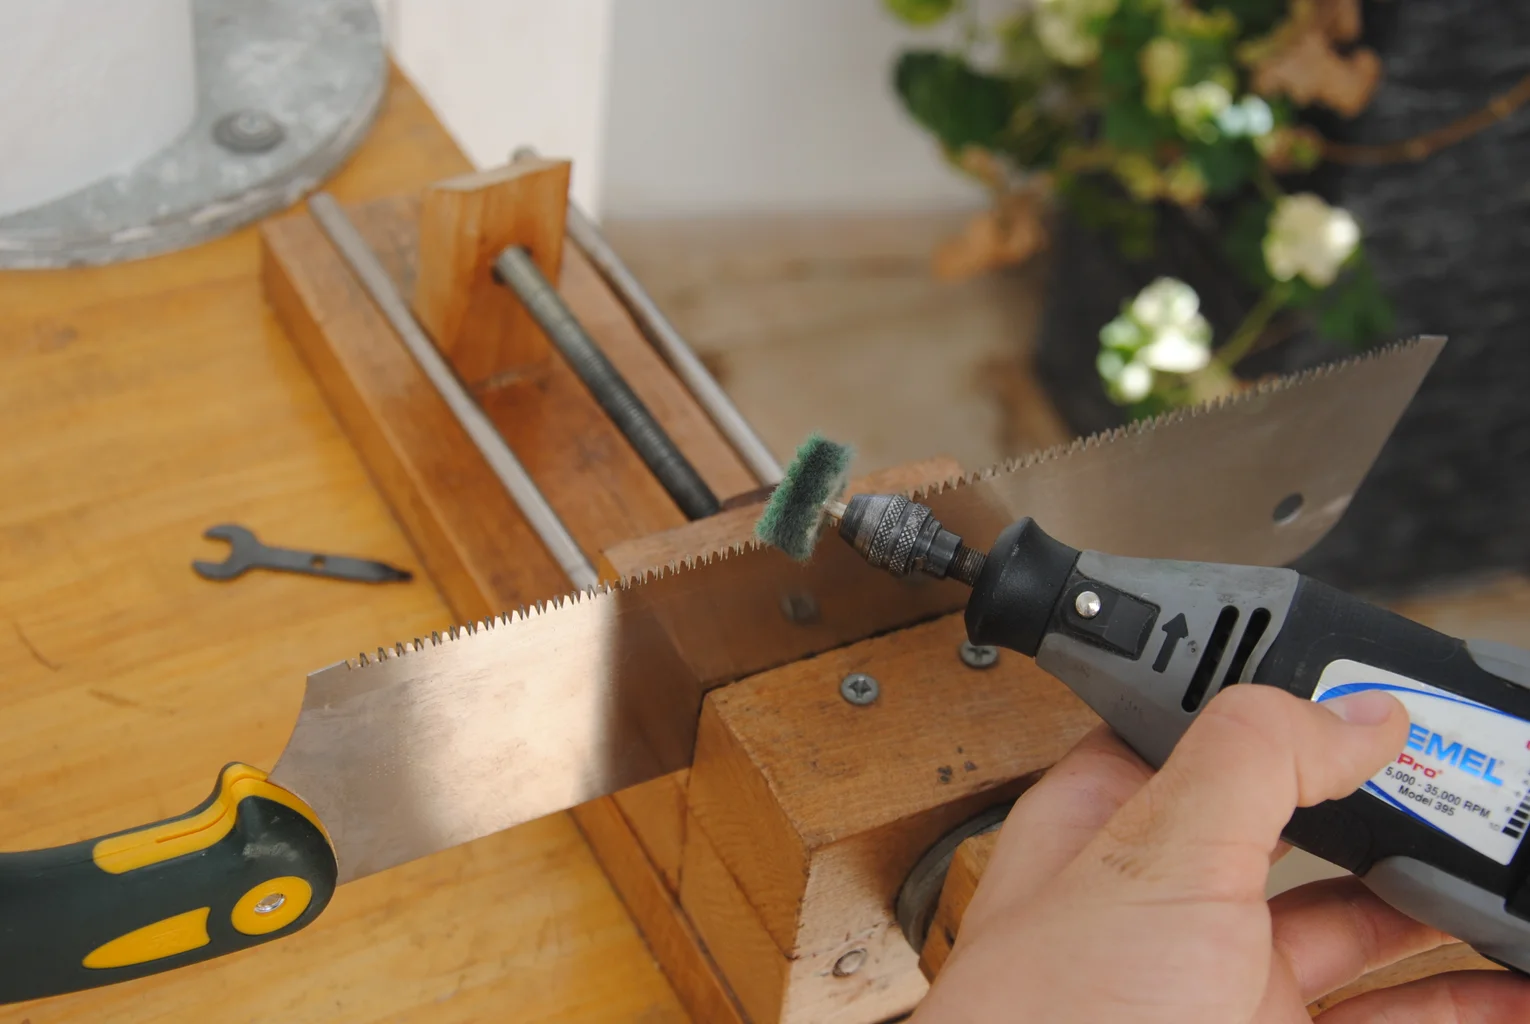
Deburring
After sharpening, there might be tiny metal burrs left behind on the sides of the teeth. These burrs can hinder the cutting performance. Use your deburring tool to gently smooth these burrs away. A few light strokes on each side of the tooth should suffice. Be careful not to remove too much material.
Testing and Refining
The true test of your sharpening prowess comes when you put the saw to work. Find a piece of scrap wood and attempt a cut. Ideally, the saw should glide through the wood with minimal effort, leaving a clean and smooth cut. If the saw binds or cuts unevenly, you might need to refine your sharpening. Here are some pointers:
- For a smoother cut: If the cut feels rough, take a few more light strokes with the file on each tooth.
- For a more aggressive cut: If the saw doesn’t seem to be cutting deeply enough, you might have over-filed the teeth. In this case, a professional sharpening service might be necessary to restore the proper tooth profile.
With a little practice and patience, you’ll develop the skills to diagnose and address minor sharpening issues.
Safety Precautions
Sharpening a hand saw requires focus and care. Here are some safety reminders:
- Wear safety glasses and gloves: Eye protection is crucial to prevent metal filings from getting into your eyes. Gloves protect your hands from cuts and blisters.
- Secure the saw properly: Ensure the saw is firmly clamped or vised to prevent it from slipping while you work.
- Use sharp tools: Dull files can be more difficult to control and increase the risk of slipping.
- Be mindful of your strokes: Maintain control of the file and avoid applying excessive pressure.
Sharpening a hand saw is a rewarding skill that breathes new life into these timeless tools. By following these steps and practicing safe techniques, you can transform your dull saw into a cutting champion. Not only will you save money by avoiding replacement costs, but you’ll also experience the satisfaction of working with a well-maintained tool. So, the next time you encounter a dusty hand saw in the corner of your shed, remember the joy of reviving it and rediscover the meditative rhythm of cutting wood with a perfectly sharpened blade.


Leave a Reply