


Building Your Perfect Cut: A DIY Miter Saw Stand Guide
The miter saw is a powerhouse tool for any woodworker. It excels at precise angled cuts, making it essential for crafting crown molding, picture frames, and countless other projects. However, the saw itself isn’t enough. To maximize its potential and create a safe, efficient workspace, you need a dedicated miter saw stand.
Fortunately, building your own stand is a fantastic DIY project. It allows you to customize the design to fit your specific needs and budget. This guide will walk you through the process, from choosing a design to putting the finishing touches on your very own miter saw stand.
Selecting Your Design
Before diving into the build, it’s crucial to choose a design that aligns with your workshop setup and preferences. Here are two popular options to consider:
-
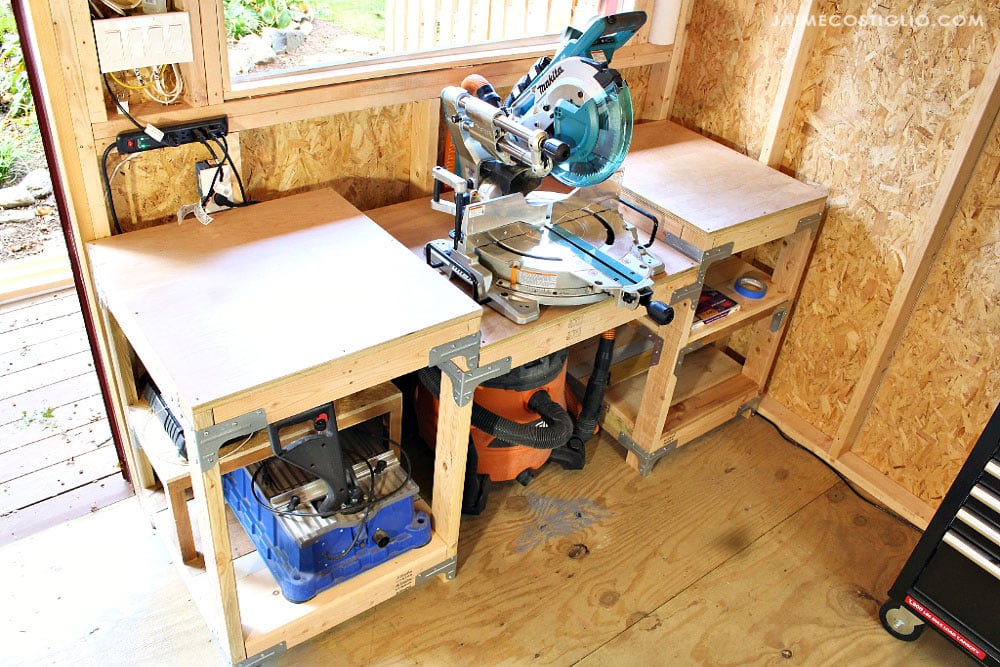
Basic Stand: This is a great choice for beginners or those with limited space. It typically consists of a simple workbench frame with a platform for the saw and a lower shelf for storage.
-
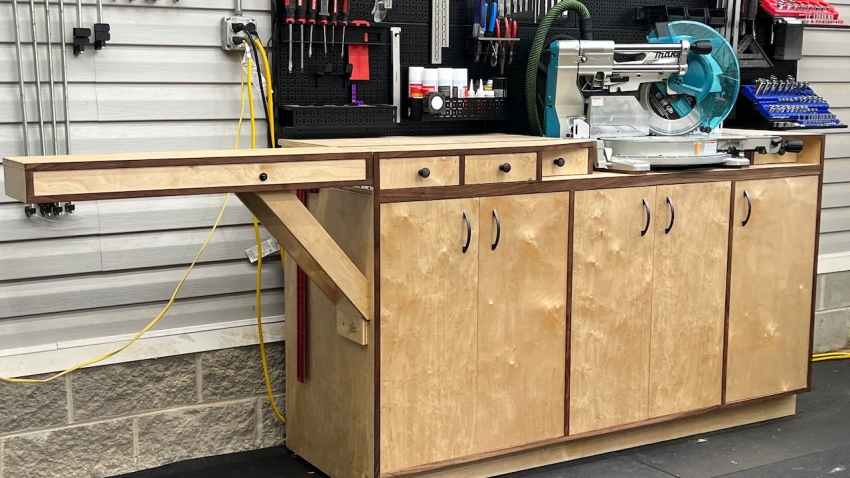
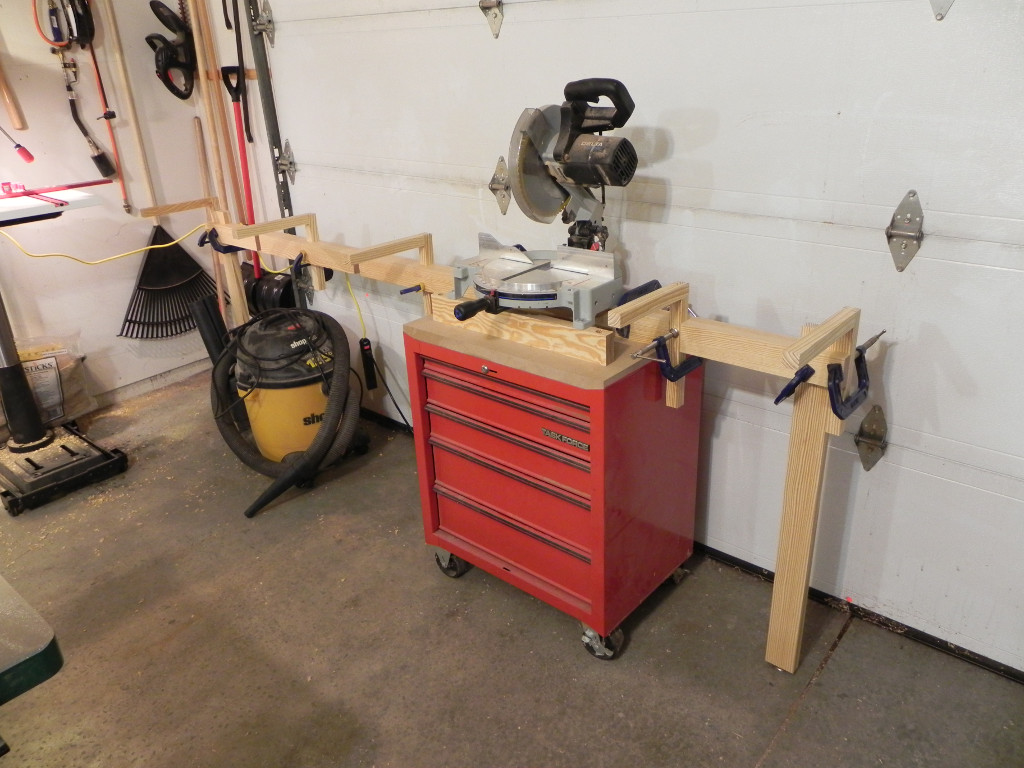
Mobile Stand with Outfeed Table: This design offers more functionality. It incorporates casters for easy movement around the workshop and an outfeed table that extends your work surface, supporting longer materials.
Once you’ve chosen your preferred design, you can find detailed plans online or create your own based on your saw’s specifications and desired features.
Gathering Your Materials
The materials list will vary depending on your chosen design. However, some common components include:
- Lumber (typically 2x4s or plywood)
- Casters (optional for mobile stands)
- Screws and nails
- Wood glue
- Kreg Jig (or pocket hole joinery system) – optional, but helpful for strong and invisible joints
When selecting lumber, consider using treated wood for the base frame if your stand will be exposed to moisture. Additionally, choose plywood with a sanded surface for the top platform to ensure smooth material handling.
Cutting and Preparing the Lumber
Here comes the fun part! Using a circular saw or miter saw (carefully!), cut the lumber according to your plans. Double-check your measurements for precise cuts. Sand any rough edges for a clean and safe work surface.
If you’re using pocket hole joinery, this is the time to drill the necessary holes using your Kreg Jig. This method creates strong, hidden joints, making your stand look polished and professional.
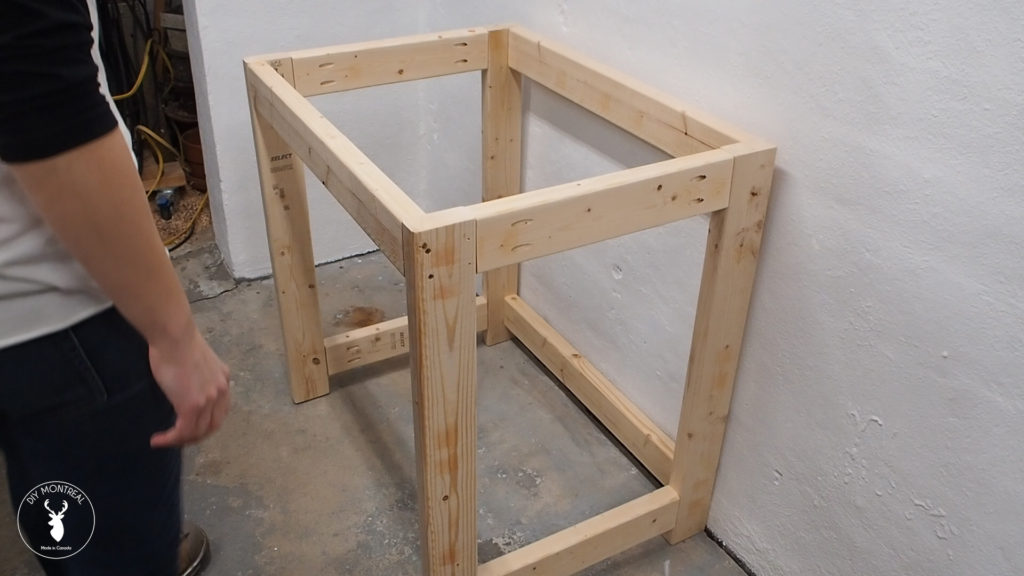
Assembly
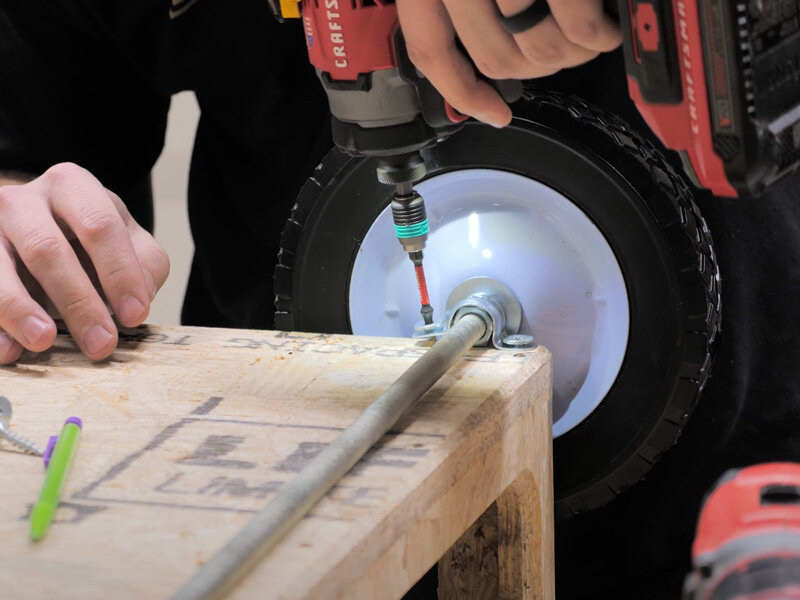
Now it’s time to bring your design to life! Start by assembling the base frame. Here, using screws and wood glue ensures a strong and stable structure. Attach the legs to the frame, followed by any additional supports or shelves.
For mobile stands, install the casters on the bottom of the legs. Make sure they swivel smoothly to allow for easy maneuvering.
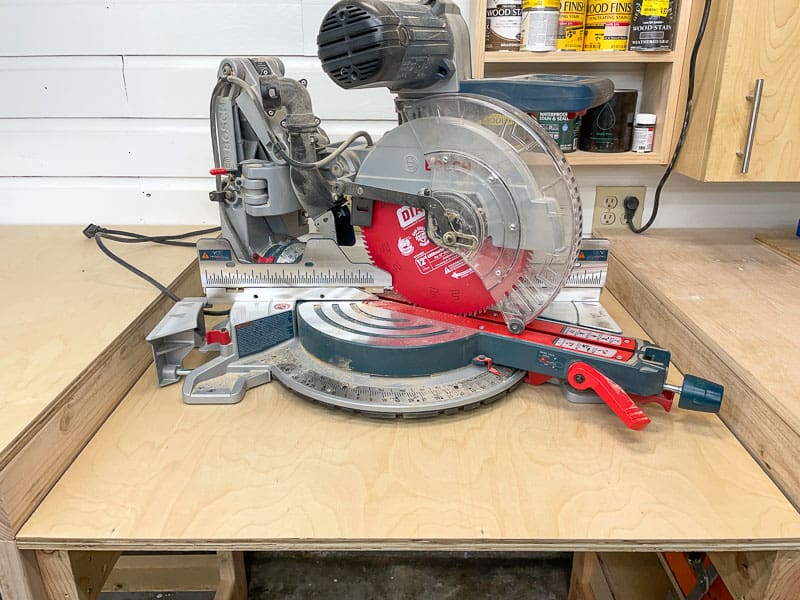
Creating the Miter Saw Platform
This platform will securely hold your saw. Following your plans, cut a piece of plywood to the appropriate size. Ensure it’s large enough to accommodate your saw base comfortably.
Here’s a crucial step: You’ll need to create a cutout on the platform that aligns with the base of your miter saw. This allows the saw to sit flush, ensuring proper operation and safety. Double-check your saw’s manual for specific dimensions for this cutout.
Once the cutout is complete, attach the platform to the base frame. Here again, screws and wood glue are your friends.
Adding Optional Features (Outfeed Table, Stops)
If you opted for a mobile stand with an outfeed table, this is the stage to build and attach it. The outfeed table typically extends from the saw platform, providing extra support for longer pieces of lumber.
You can also consider adding stops to your stand. These are small blocks that can be clamped onto the fence or table, acting as guides for repetitive cuts.
Finishing Touches and Safety Measures
With the core structure complete, it’s time to personalize your stand. Sand any remaining rough edges and apply a coat of paint or stain for a finished look.
Safety is paramount. Ensure your stand is sturdy and level before using it. Also, make sure to secure your saw to the platform using the appropriate hardware provided by the saw manufacturer.
Finally, incorporate good workshop practices. Always wear safety glasses and ear protection when operating the saw. Use clamps to secure your workpiece firmly to the platform for precise and controlled cuts.
Enhancing Functionality and Safety:
Building your own miter saw stand offers a wealth of benefits, allowing you to customize it for your workspace and workflow. However, a few simple additions can further elevate its functionality and prioritize safety while you work.
Functional Enhancements:
- Dust Collection Port: Attach a dust collection port to the base of your saw and connect it to your shop vac. This helps control sawdust, improving visibility and reducing cleanup time. You can find pre-made dust collection ports online or create a simple one using plywood and a hose attachment.
- Hold-Down Clamps: Consider installing T-tracks or a hold-down clamp system on the platform and outfeed table (if applicable). These clamps allow you to secure your workpiece firmly for precise cuts, especially when working with smaller or odd-shaped pieces.
- Storage Solutions: Integrate storage compartments into the stand’s design. This could include drawers underneath the platform for commonly used blades and tools, or cubbies on the sides for jigs and clamps.
Safety Upgrades:
- Stop Blocks: Adding stop blocks to the fence or table allows for quick and repetitive cuts with consistent lengths. These blocks can be made from wood or purchased pre-made.
- Board Supports: For long cuts that extend beyond the platform, consider adding retractable or foldable board supports on the outfeed side. These supports prevent your workpiece from sagging and ensure a clean, accurate cut.
- Power Cord Management: Install a retractable power cord reel on the stand or use cable clips to keep the cord organized and prevent it from becoming a tripping hazard.
By incorporating these enhancements, you’ll transform your DIY miter saw stand into a highly functional and safe workstation, maximizing your productivity and minimizing the risk of accidents.
Making necessary adjustments to ensure the stand is level, stable, and aligns with your specific needs
Here’s how to fine-tune your DIY miter saw stand for optimal performance:
Leveling:
- Spirit Level: Use a spirit level on the platform and base frame in all directions (front-to-back and side-to-side) to check for levelness.
- Shims: If the stand isn’t level, place thin shims (small wedges of wood or plastic) under the legs or specific sections of the frame to achieve a perfectly flat surface.
Stability:
- Tighten Everything: Double-check that all screws, bolts, and joints are secure. A loose connection can lead to wobbliness.
- Braces: If your design lacks diagonal braces, consider adding them for increased stability. These braces connect the legs to the frame at an angle, preventing the stand from racking (twisting under pressure).
Aligning with Your Needs:
- Platform Height: Ensure the platform height is comfortable for your working posture. You can usually adjust the leg length slightly for minor height modifications.
- Outfeed Table Alignment: If you have an outfeed table, make sure it’s perfectly aligned with the saw platform to create a continuous, smooth work surface for long materials.
By incorporating these adjustments, you’ll guarantee your DIY miter saw stand is level, stable, and perfectly tailored to your woodworking needs.
Conclusion: Enjoy Your Custom Miter Saw Stand!
Congratulations! You’ve successfully built your very own miter saw stand. This customized workstation will significantly enhance your woodworking experience. The dedicated platform ensures stability and proper saw operation, while the additional features like storage shelves and an outfeed table (if included) streamline your workflow.


Leave a Reply