


Mastering Your Cuts: A Comprehensive Guide to Table Saw Guides
The table saw is a cornerstone tool for any woodworker, offering versatility for ripping, crosscutting, and creating joinery. However, achieving clean, precise cuts relies heavily on using the correct table saw guide. There are two primary table saw guides: the fence and the miter gauge. Each plays a distinct role in guiding your workpiece for a successful cut.
The Fence: Maintaining Distance
The fence is a long, flat metal plate that runs parallel to the table saw blade. It acts as a reference point for the wood’s edge, determining the width of your rip cuts. Here’s how to use the fence for optimal results:
-
Positioning the Fence: Most fences have rulers etched along their length for easy measurement. Loosen the fence’s locking mechanism, slide it to your desired distance from the blade, and align the ruler with your cut width. Tighten the locking mechanism to secure the fence in place.
-
Fine-Tuning: Some fences incorporate a micro-adjuster for minor tweaks after locking. This is helpful for achieving an exact cut width, especially when dealing with thin strips.
-
Parallelism is Key: For perfect rip cuts, ensure the fence is perfectly parallel to the saw blade. Use a square to check this by placing its long edge on the table saw surface and its short edge against the fence. Adjust the fence until the ruler and the saw blade teeth are parallel along the entire length of the blade.

The Miter Gauge: Mastering Angles
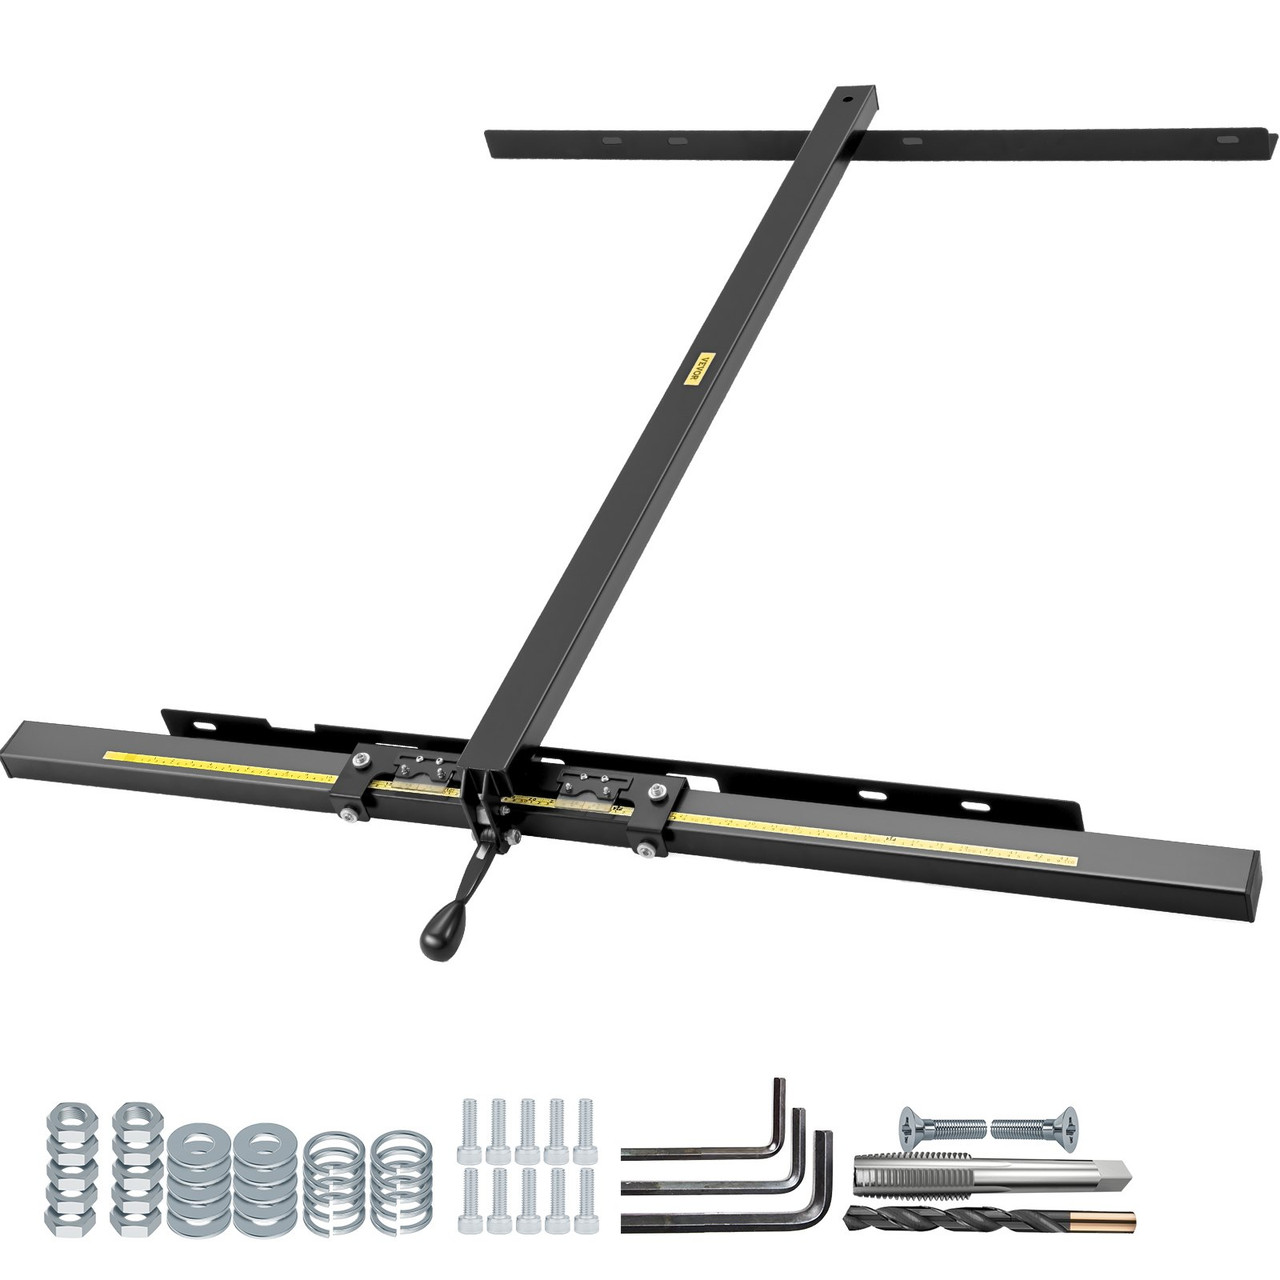
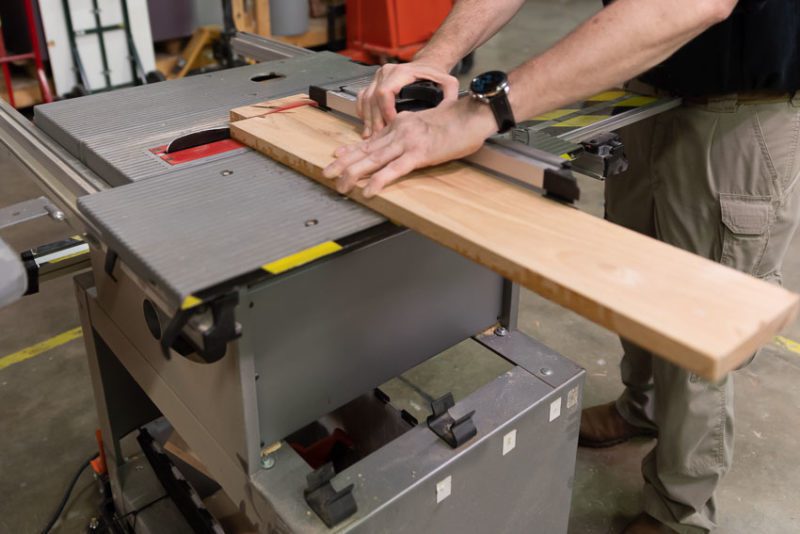
The miter gauge allows you to make precise angled cuts. It features a slotted bar that fits into the table saw’s miter slot, a T-shaped groove on the table saw’s surface. The gauge itself has a head that can be rotated to specific angles. Here’s how to use the miter gauge effectively:
-
Setting the Angle: The miter gauge typically has a protractor with markings for common angles (90 degrees for a straight cut, 45 degrees for a perfect angled cut). Loosen the locking knob on the miter gauge head, rotate it to your desired angle, and align it with the corresponding marking on the protractor. Tighten the locking knob to secure the angle.
-
Double-Checking: It’s always a good practice to double-check your angle setting with a separate carpentry square before making a cut.
-
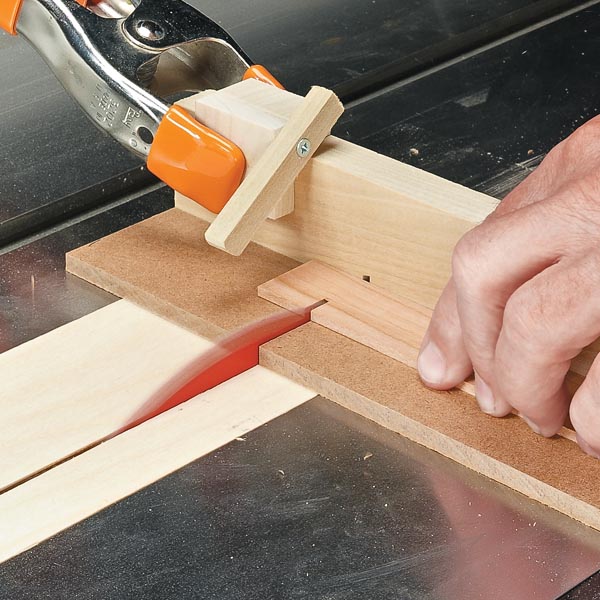
Miter Gauge Limitations: While the miter gauge excels at precise angles, it’s not ideal for very narrow or short pieces of wood. For these cuts, consider using a dedicated sled or jig for better control and safety.
Beyond the Basics: Advanced Table Saw Guide Techniques
Once you’ve mastered the fundamentals, explore these advanced techniques to broaden your table saw capabilities:
-
Dado Stack Cuts: A dado stack is a set of saw blades specifically designed for creating wide grooves. The fence plays a crucial role here. Set the fence at an equal distance from both sides of the combined dado blade width to ensure a centered cut.
-
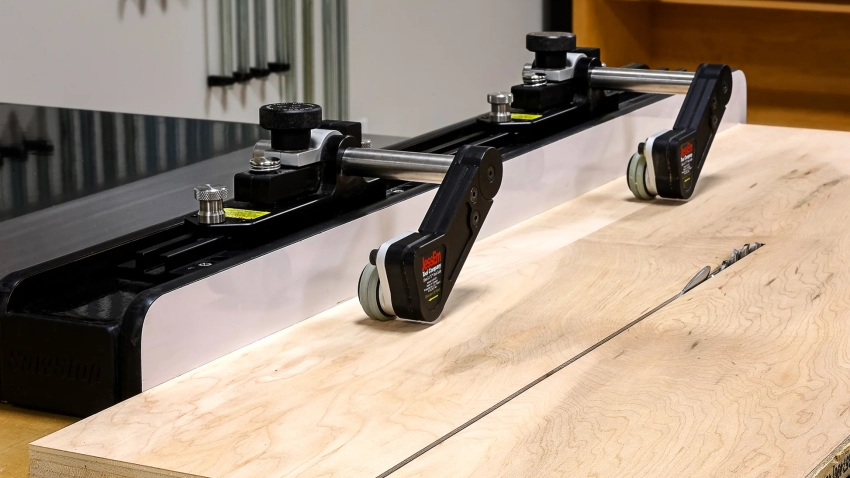
Featherboards: Featherboards are push blocks mounted on the table saw fence or table. They apply gentle downward pressure on the workpiece, preventing kickback and keeping your fingers far from the blade.
-
Zero-Clearance Inserts: A zero-clearance insert is a removable plate surrounding the saw blade that matches the blade kerf (width) exactly. This minimizes workpiece tear-out and provides better support during cuts. When using a dado stack, you’ll need a dedicated zero-clearance insert sized for the dado width.

Choosing the Right Table Saw Guide for Your Needs
Table saw guides come in various configurations to suit different budgets and project requirements. Here’s a breakdown of the most common types:
-
Standard Fence: The most basic fence is typically made of steel and offers basic functionality. Upgraded fences may incorporate features like rack-and-pinion mechanisms for smooth and easy adjustments.
-
Aftermarket Fences: Aftermarket table saw fences can be a worthwhile upgrade, offering increased precision, dust collection ports, and outfeed tables for better workpiece support.
-
Miter Gauges: Basic miter gauges are adequate for occasional angled cuts. However, consider investing in a precision miter gauge with features like a locking mechanism for the head and a T-slot track for easy alignment on the miter slot.
Safety First: Essential Tips When Using Table Saw Guides
Always prioritize safety when working with a table saw. Here are some essential tips to keep in mind:
-
Sharp Blades: A dull blade is more likely to grab the wood, leading to kickback. Use sharp blades appropriate for the material you’re cutting.
-
Push Sticks and Featherboards: Never use your hands to push wood through the saw. Use push sticks or featherboards to safely guide the wood through the sawblade.
-
Maintain Control: Keep good posture and maintain firm but controlled pressure on the workpiece as you feed it through the blade.
-
Beware of Kickback: Kickback is a dangerous situation where the wood gets pinched between the blade and the fence and is violently thrown back towards the operator. Be aware of situations that can cause kickback, such as using a dull blade, cutting warped wood, or not properly securing the workpiece.
-
Eye Protection: Always wear safety glasses to protect your eyes from sawdust and debris.
-
Dust Collection: Use a dust collection system to minimize airborne particles and keep your work area clean.
-
Power Down Before Adjustments: Always turn off and unplug the table saw before making any adjustments to the fence or miter gauge.
Promoting a safe and clean workspace for prolonged table saw use
The table saw is a powerhouse in the woodshop, but prolonged use can present challenges. Dust, clutter, and improper setup can hinder your workflow and, more importantly, compromise safety. Here’s how to create a clean and safe workspace for extended table saw sessions:
Conquer the Dust Monster:
- Dust Collection System: Invest in a dust collection system that connects directly to your table saw. This removes sawdust and woodchips at the source, keeping your lungs clear and visibility high.
- Regular Cleaning: Don’t let dust accumulate. Regularly clean your table saw, the surrounding area, and your dust collection system filters for optimal performance.
- Wear a Respirator: When dust collection isn’t feasible or during cleaning tasks, wear a properly fitted respirator to protect your respiratory system.
Declutter for Efficiency:
- Designated Storage: Create designated storage areas for tools, jigs, and push sticks. This prevents clutter on your work surface and ensures everything is readily accessible when needed.
- Clear Floor Space: Maintain a clear path around your table saw for easy movement and to prevent tripping hazards.
- Waste Management: Have a designated bin nearby for wood scraps. Dispose of them regularly to avoid clutter buildup.
Lighting Up Your Workflow:
- Task Lighting: Install good task lighting above and to the sides of your table saw. This eliminates shadows and improves visibility for precise cuts.
- Adjustable Lighting: Opt for adjustable lighting to customize the brightness and angle based on your project and personal preference.
Ergonomics for Comfort:
- Adjustable Workbench Height: A workbench with an adjustable height allows you to set it to a comfortable working position, reducing fatigue and strain during long sessions.
- Anti-Fatigue Mat: Standing for extended periods can lead to discomfort. Consider using an anti-fatigue mat to provide support and reduce stress on your legs and back.
By implementing these tips, you can create a clean, safe, and efficient workspace for prolonged table saw use. Remember, a comfortable and organized environment fosters focus and reduces the risk of accidents, allowing you to truly enjoy the power and precision of your table saw.
Conclusion: Mastering Table Saw Guides Takes Practice
Table saw guides are essential for achieving clean and accurate cuts. By understanding how to use the fence and miter gauge properly, and by incorporating these advanced techniques, you’ll expand your woodworking capabilities. Remember, safety is paramount. Always prioritize safe practices and don’t hesitate to consult your table saw manual or seek guidance from experienced woodworkers if needed. With practice and a focus on safety, you’ll master your table saw guides and elevate your woodworking projects to the next level.


Leave a Reply