


Mastering the Miter Saw: A Beginner’s Guide to Precise Cuts
The miter saw, a cornerstone tool in any woodworker’s arsenal, offers the ability to make clean, accurate cuts with ease. While its functionality might seem intimidating at first, with a little knowledge and practice, you’ll be tackling projects like a pro. This guide will walk you through everything you need to know to use a miter saw safely and effectively.

Safety First
Before we delve into the world of cuts, safety is paramount. Miter saws pack a powerful punch, so prioritizing safety ensures a successful and injury-free experience. Here are some essential safety practices to remember:
- Eye protection is non-negotiable. Wear safety glasses that comply with the American National Standards Institute (ANSI) Z87.1 standard.
- Ear protection is crucial. Constant exposure to loud noises can damage your hearing. Invest in earplugs or earmuffs.
- Dress for success. Loose clothing, dangling jewelry, and long hair can snag on the blade. Opt for close-fitting clothing and tie back your hair.
- Know your saw. Familiarize yourself with the location and function of all the controls before plugging it in. Read the owner’s manual thoroughly.
- Sharpness is key. A dull blade can lead to kickback and inaccurate cuts. Ensure your blade is sharp and appropriate for the material you’re cutting.
- Clamp it down. Secure your workpiece firmly using clamps to prevent it from shifting during the cut.
- Never reach under the blade. Wait for the blade to come to a complete stop before reaching under the saw to retrieve cut pieces.
- Unplug it when finished. Always unplug your miter saw when not in use or when changing the blade.
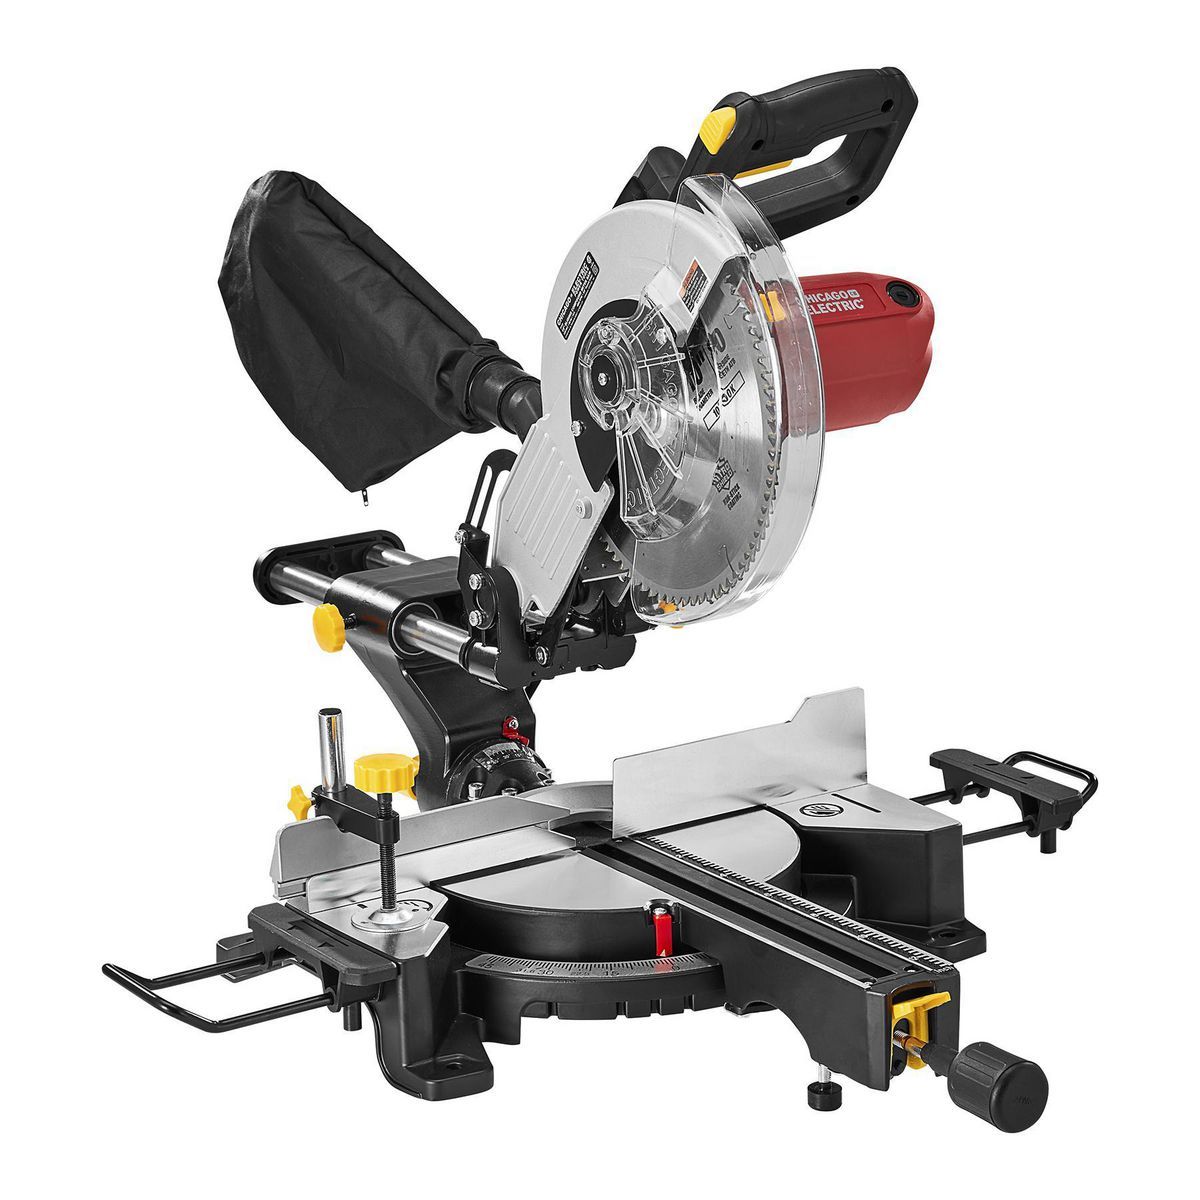
Getting to Know Your Miter Saw
Now that safety is covered, let’s explore the different parts of a miter saw:
- Base: This is the foundation of the saw and provides stability.
- Fence: This long, flat metal plate runs parallel to the blade and helps guide your workpiece for straight cuts.
- Miter Gauge: This adjustable table allows you to rotate the workpiece to create angled cuts.
- Bevel Gauge (on some saws): This feature lets you tilt the saw blade for angled bevel cuts.
- Saw Blade: The blade is the heart of the saw and does the actual cutting. Blades come in different sizes and tooth counts, suited for various materials.
- Trigger: This lever controls the saw blade. Squeezing it powers the blade, and releasing it stops it.
- Safety Guard: This transparent cover protects your hands from the spinning blade.
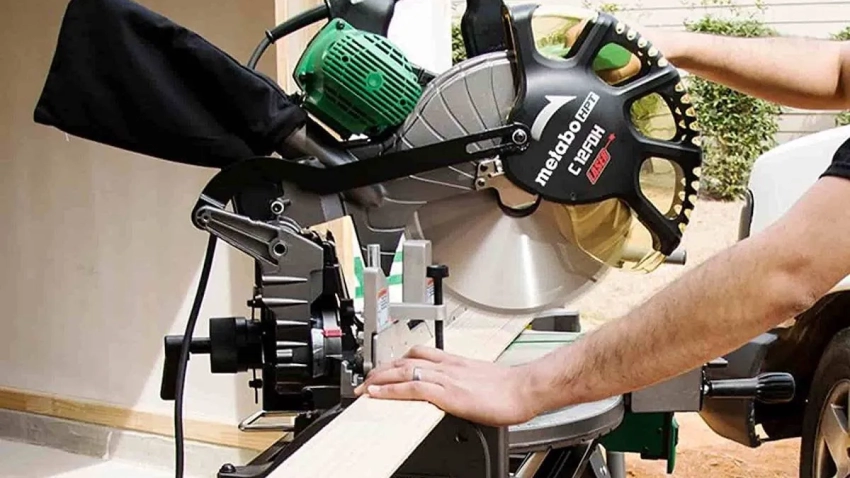
Making Your First Cut
With safety in mind and your saw identified, it’s time to make your first cut! Here’s a step-by-step guide:
- Plan your cut. Measure and mark the cutting line on your workpiece with a pencil.
- Set the angle (if needed). Loosen the miter gauge and rotate it to the desired angle for angled cuts. Tighten the gauge securely. Bevel cuts, if your saw has that function, are set on a separate gauge.
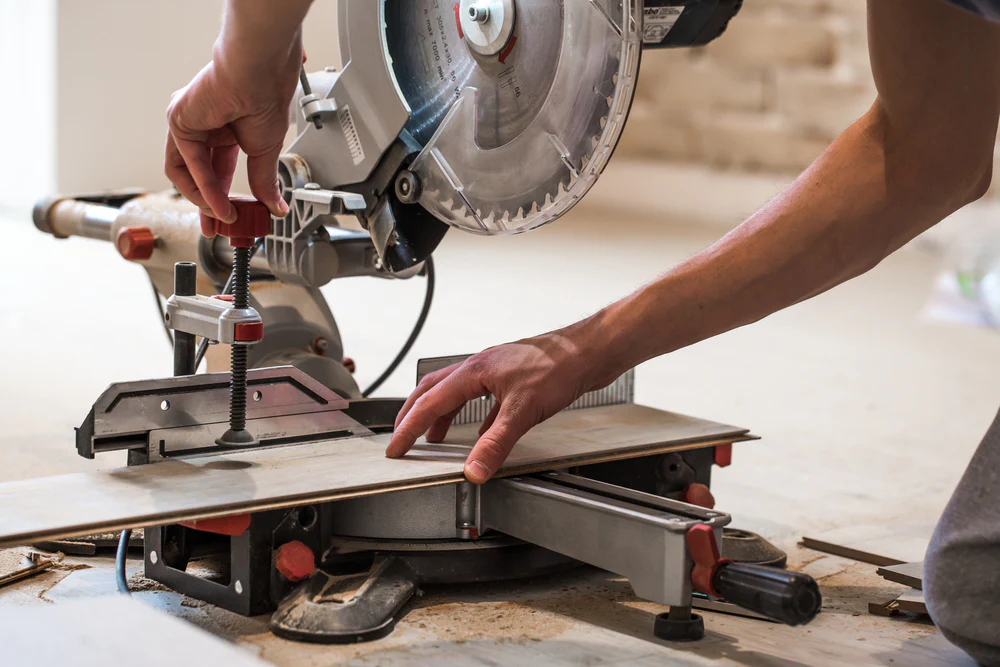
- Position your workpiece. Place the board on the saw base, ensuring it rests flush against the fence. Clamp the workpiece securely to prevent movement.
- Double-check. Before turning on the saw, double-check your measurements, angles, and blade guard position.
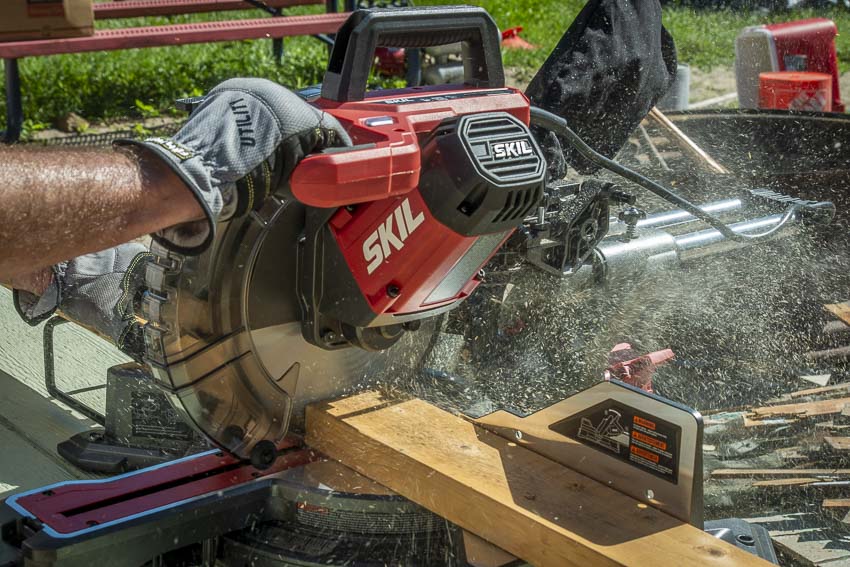
- Power on and cut. Turn on the saw and let the blade reach full speed. Slowly lower the saw handle, guiding the blade through the marked line on your workpiece.
- Maintain control. Apply steady, even pressure throughout the cut. Don’t force the saw.
- Let the blade stop. Once the cut is complete, release the trigger and allow the blade to come to a complete stop before raising the saw head.
- Unclamp and repeat. Turn off the saw, unclamp your workpiece, and repeat the process for any additional cuts.
Tips and Techniques for Flawless Cuts
Now that you’ve mastered the basic cut, here are some additional tips to elevate your miter saw skills:
- Use a stop block for repetitive cuts of the same length.
- Mark the waste side of your cut to avoid confusion.
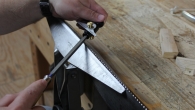
- Score the cut line with a utility knife for cleaner cuts in plywood or veneer.
- Support long workpieces with an outfeed table or sawhorses to prevent them from sagging.
- Practice on scrap wood before tackling your final project.
Beyond the Basics: Advanced Techniques
As you gain confidence, explore some advanced miter saw techniques to expand your project capabilities:
Compound Cuts:
Some miter saws, called compound miter saws, allow you to make angled bevel cuts. This is achieved by setting both the miter and bevel angles simultaneously. Compound cuts are useful for creating crown molding or picture frames.
Crown Molding:
Miter saws excel at creating the angled cuts needed for crown molding installations. By setting the miter and bevel angles according to the molding profile, you can achieve precise corner joints.
Dado Joints:
Dado joints are essential for building cabinets and shelves. While not a single cut, you can use the miter saw to make multiple passes to create the dado slot.
Maintenance Matters
Taking care of your miter saw ensures its longevity and optimal performance. Here’s a simple maintenance routine:
- Keep it clean. Regularly remove sawdust and debris from the saw base, fence, and blade guard.
- Sharpen the blade. Over time, blades become dull. Invest in a blade sharpener or take your blade to a professional for sharpening.
- Lubricate the moving parts. Refer to your owner’s manual for specific lubrication points and recommended lubricants.
Additional Resources:
While this guide provides a solid foundation, there’s always more to learn. Here are some additional resources to deepen your knowledge:
- Online tutorials: Many websites and platforms offer video tutorials demonstrating miter saw techniques in detail.
- Woodworking forums: Online woodworking forums connect you with experienced woodworkers who can answer your specific questions and offer valuable advice.
- Books and magazines: Invest in woodworking books and magazines that delve deeper into project ideas and advanced techniques.
With dedication and a thirst for knowledge, you’ll transform from a miter saw novice to a woodworking expert in no time. Happy sawing!
With the knowledge and practice gained from this guide, you’re well on your way to mastering the miter saw. Remember, safety is paramount, so prioritize safe practices every time you use the saw. As you gain experience, don’t hesitate to explore advanced techniques and tackle more intricate projects. The miter saw will become a versatile tool in your woodworking arsenal, helping you bring your creative visions to life.


Leave a Reply